Automotive Industry
The Automotive industry is undergoing a significant transformation with advancements in build materials, manufacturing processes and power options, including electric and hybrid vehicles becoming commonplace. With future leaps in technology for electric and fuel cell technologies, the safety and reliability of these vehicles are of the highest importance.

Ultrasonic inspection (UT) plays a crucial role in ensuring safety and quality in the automotive industry; from body weld inspection to composite bonding validation, UT is used in all aspects of vehicle manufacture and maintenance. Some examples are given below.
1. Inspections
- Welds: UT weld inspection detect hidden discontinuities.
- Body panel thickness checks: UT thickness checks ensure body panels and critical structures are the correct minimum thickness.
- Composite parts: UT checks ensure composite material for disbonding between ply's, pooling, porosity and other related discontinuities.
- Adhesive bonds: UT checks the quality of the bonding of glued joints.
- Composite impact damage assessment: UT inspections of impact areas assess the integrity of a part.
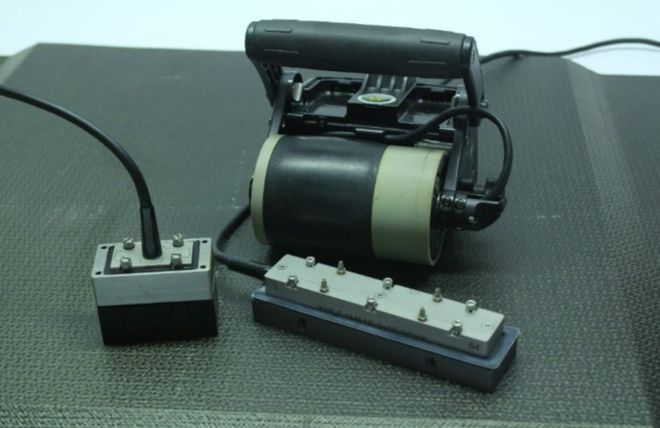
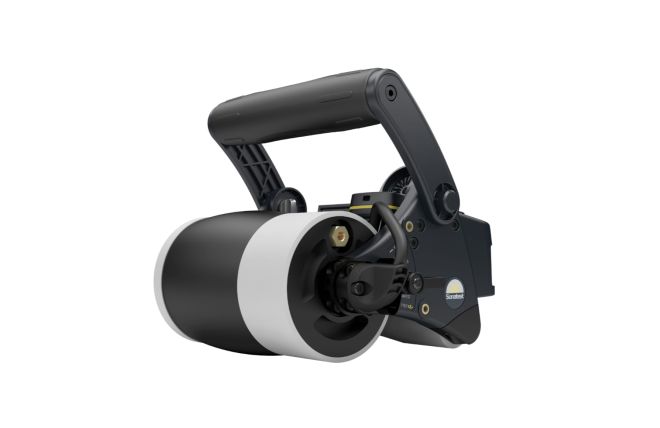
Sonatest has specialised solutions for inspecting Automotive assets. The RSFlite, which is specifically designed for composite and large-area inspections, when paired with the Wheel Probe 2 scanner, allows large areas to be scanned quickly showing instant results and creating data packs that can be reviewed on UTMap, a software specifically designed for C-Scan data review.
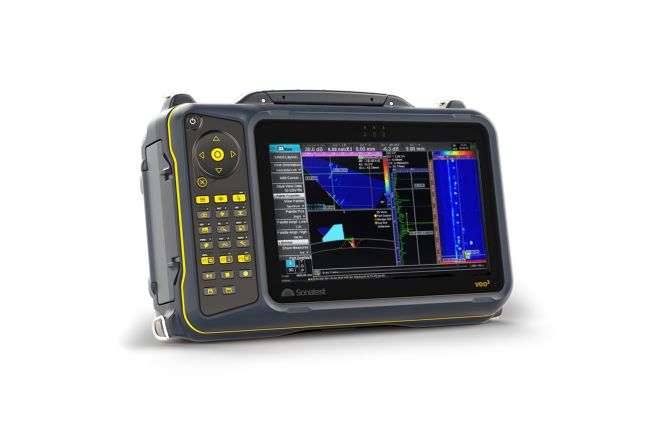
The VEO3 is a multi-technique specialist system capable of performing phased array weld inspection and corrosion mapping, also included are TFM (Total Focusing Method), TFMi and TOFD (Time of Flight Diffraction) (Time of Flight Diffraction) inspection methods, each providing further inspection solutions to the inspector.
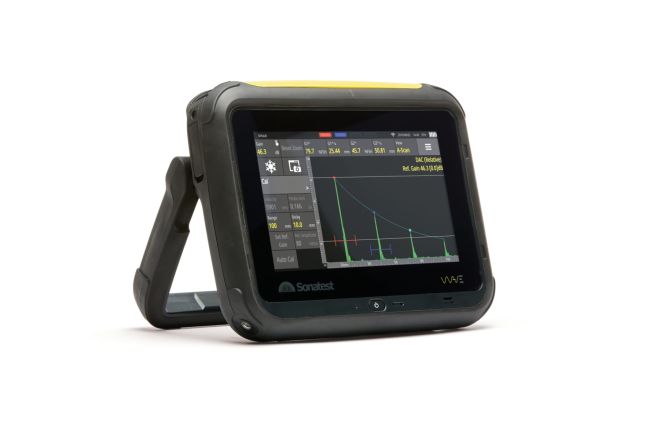
The Wave interactive flaw detector with its CAD import scan plan allows the visual representation of complex geometry parts, showing exactly where signals are originating from, making it easier to differentiate a geometric signal from a defect signal, reducing false calls and saving time and money in the process.
Frequently Asked Questions
Ultrasonic testing (UT) is essential in automotive manufacturing for ensuring the safety and quality of vehicles. It is employed to inspect welds, measure the thickness of body panels and spot welding, check integrity of composite materials, and evaluate the quality of adhesive bonds. This non-destructive method helps guarantee that parts meet stringent safety standards into a streamlined manufacturing process.
Ultrasonic testing enables the detection of hidden discontinuities within welds that are not visible to the naked eye. This method uses high-frequency sound waves to identify inconsistencies like cracks or voids, ensuring welded components in vehicles are robust and reliable. Sonatest software contain smart tools that helps automobile companies to create go/no go configurations specially designed to the quality controller who may have a short NDT training.
Composite materials are integral to modern automotive designs for reducing weight while enhancing strength. Ultrasonic testing checks for disbonds, porosity, and other inconsistencies within composite materials, helping confirm the structural integrity and performance standards of automotive parts. Ultrasound waves are compatible with composites unlike other NDT methods (Eddy current testing for example).
The VEO3 system is a multi-technique ultrasonic testing device capable of conducting phased array weld inspection, corrosion mapping, and incorporating advanced methods like TFM (Total Focusing Method) and TOFD (Time of Flight Diffraction). Its versatility and comprehensive capabilities make it ideal for detailed inspections in the automotive sector, enhancing both safety and productivity by facilitating quick and precise inspections.
Sonatest software also contain smart tools that streamlines repetitive inspections in a rigorous production environment. You can think of custom colour palette that highlights defect contouring, etc.

