In addition to the ongoing car electrification, there are numerous hidden advancements in daily car features and new gadgets. Behind the scenes, manufacturers are constantly improving production processes, particularly in the face of demanding and prolonged procurement situations.
The integration of lightweight materials, such as composites, and complex shapes into existing vehicle frames necessitates innovative manufacturing and quality control methods. Adhesive bonding has emerged as a popular assembly technique, steadily growing in adoption each year1. Various joining strategies exist, each with its own advantages and disadvantages.
Check out how different those techniques are2:
- Welding
- Arc seam welding and arc spot
- Spot welding quality control
- Resistance spot welding
- Laser beam welding
- Friction stir welding
- Mechanical Fastening
- Self-piercing rivets
- Clinch fasteners
- Adhesive Bonding (growing & maturing)
Utilizing NDT on adhesive bonding
In evaluating the benefits of adhesive technology, it is important to consider the implementation of non-destructive testing to ensure that the assembly meets the necessary joining requirements. With regards to the advantages of bonding, it is essential to acknowledge the corresponding non-destructive testing (NDT) challenges that contribute to the overall integrity of the assembly3.
Advantages and potential testing issues:
- Joins any combination of similar or dissimilar materials
- E.g.: Sound can travel through Aluminium - Polyurethane – Aluminium
- Impedance matching may result in a challenging inspection from a steel to composite transition (Composite to Steel is okay though)
- Ultrasound can penetrate through metals and many non-conductive laminates design.
- Provides a large stress bearing area
- Large surface can be 100% controlled with proper encoded equipment.
- Probability of detection is better than just random spot checking.
- Provides sealing at the joints
- Tiny irregularities will be spotted, so the sealing quality is also pre-tested. (IP rating may require real water test procedures)
It is also important to clean the two joined surfaces, so the bonding has its nominal gluing tension resistance. Ultrasound may detect large residue inserts causing weaker joints.
Solutions
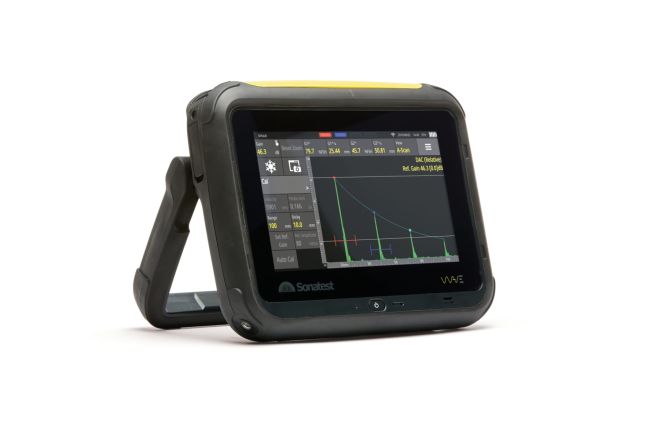
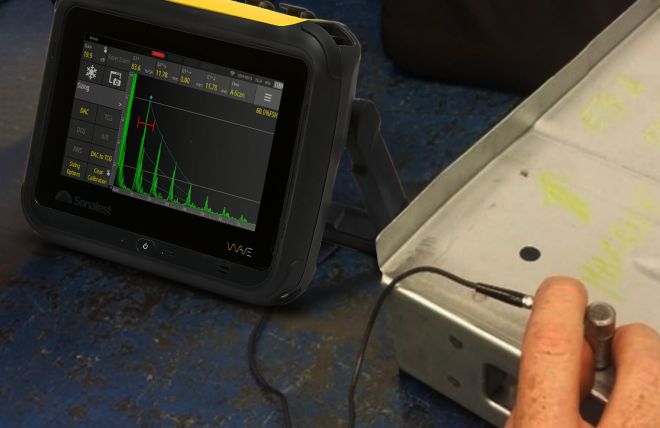
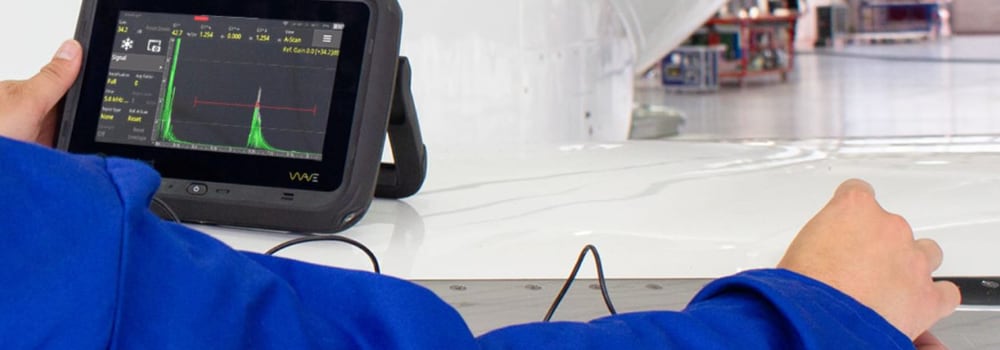
With its part assembly having an excellent ultrasound compatibility, the Go/No Go implementation excels when paired with our Sonatest Wave. Our instrument allows for quick assessment with options for Pulse-Echo or Dual crystal A-scan readings, enabling fast and easy-to-interpret results. Additionally, the Wave supports through transmission setups, utilizing the shadow effect when the inner and outside surface are accessible. We highly recommend referring to our solution note for further details on utilizing our flaw detector for these specific applications.
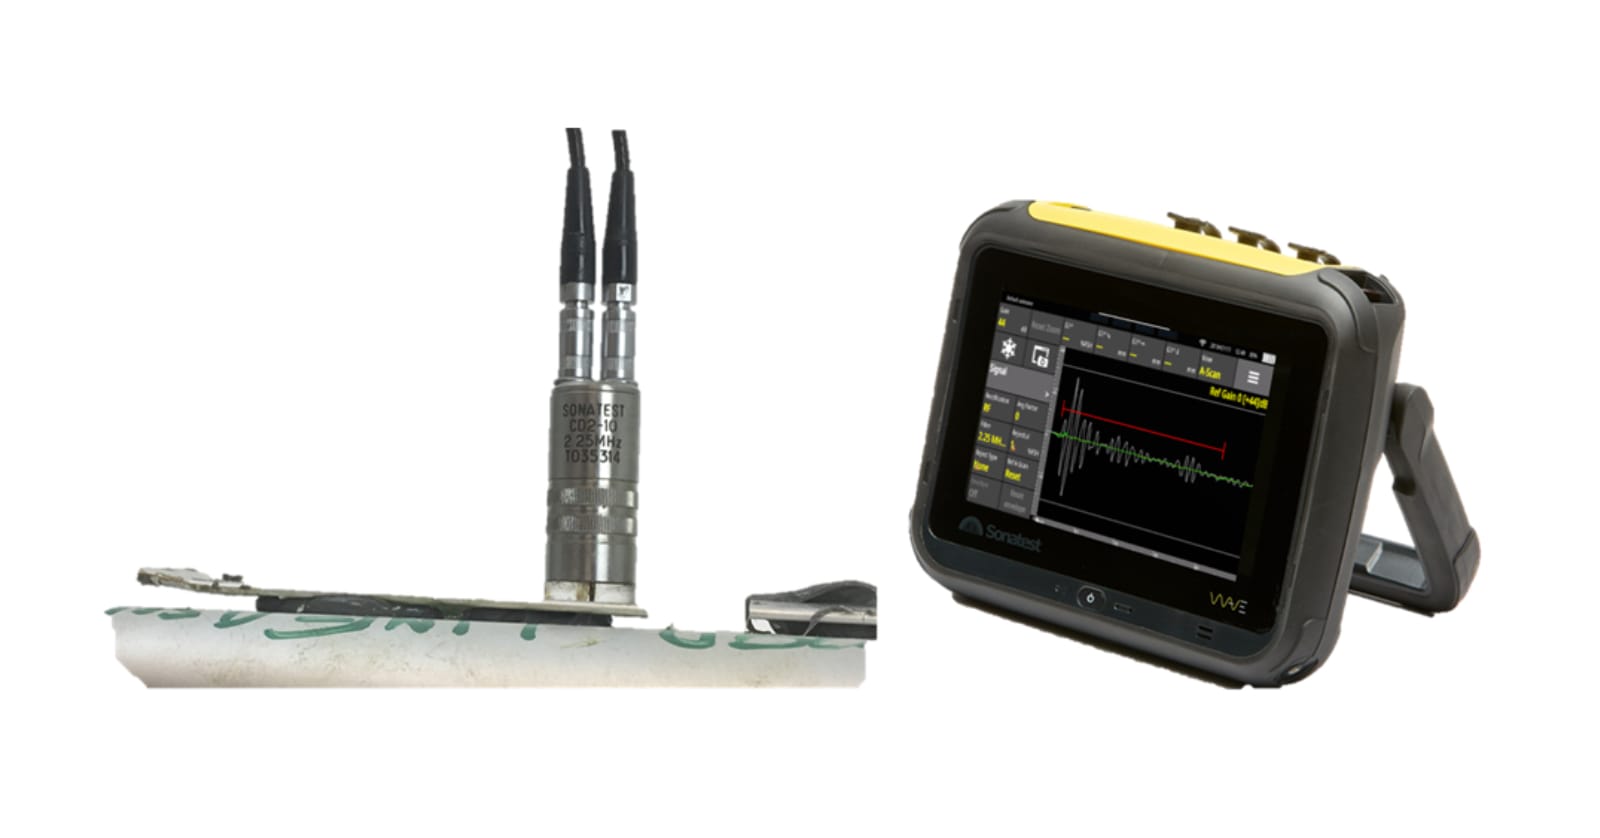
Sonatest Wave with dual crystal setup checking a bonding coupon
For optimal A-scan quality and reliable results, the choice of probe plays a crucial role. We encourage you to reach out to our dedicated Sonatest Application team to address any inquiries or concerns you may have. They are well-equipped to provide expert guidance and support tailored to your specific needs.
PA and TFM Solutions
Just like single crystal ultrasound, a phased array (PA) Linear-scan or TFM imaging can solve challenging plate joints.

Typical bonding inspection sketch for single and PA scans
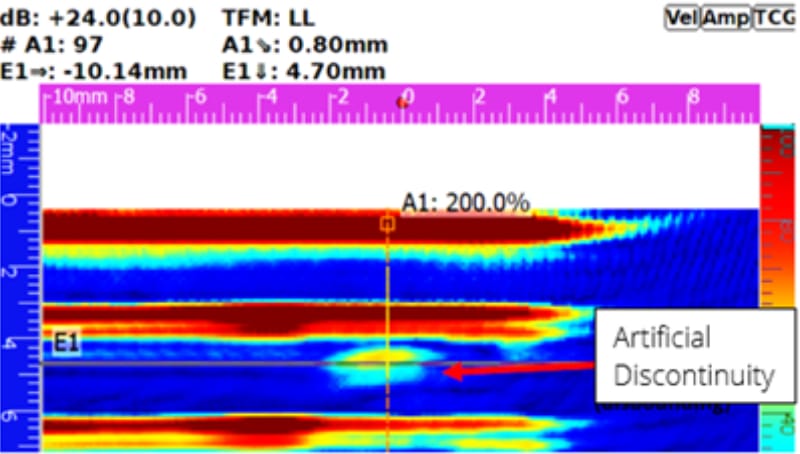
Example of artificial defect imaging Aluminium-Aluminium assembly
By utilizing a high-resolution linear probe (such as an X3A or a WheelProbe) in conjunction with an advanced imaging system such as the VEO3, you have the capability to perform both single crystal check-ups and imaging scans with a remarkable image resolution of (up to) 0.01 mm per pixel. Additionally, this setup allows for the utilization of a 0.5 to 20 MHz phased array probe, enabling detailed inspections and assessments of the desired materials or components. For the latest bonding technologies, we have worked with an American university to determine the best imaging techniques for various laminates and aluminium joints.
Conclusion
Since the 2000s, the automotive industry has made significant progress in developing new adhesive and procedure standards. The design of bonding assemblies has expanded, presenting new challenges that need to be addressed. At Sonatest, we have been at the forefront of supporting automotive design requirements and have developed a robust portfolio of NDT equipment. Our equipment can provide solutions for Go/No Go inspections as well as advanced imaging quality control for various adhesive inspections. With our expertise and cutting-edge technology, we are committed to meeting the evolving needs of the automotive industry.
Please contact our Applications Team if you have any questions. You can also find more solutions on our website.
Stay up to date with our latest content. Sign up here to get our blogs delivered straight to your inbox.
News Filter...
The latest news from Sonatest direct to your inbox.
Tags
Related Products
