- Application Notes
Polyurethane Adhesive Bond Inspection
Increasingly, due to their ease of use, adhesives are being utilised to join metals or composite structures. Testing of a single adhesive bond is not always a straight forward task using a simple A-Scan. It can be a challenging inspection, and if there are multiple layers then satisfactory reflections cannot always be relied upon, especially if the construction is complicated and/or a variety of materials are involved.
Unlike aluminium or other homogenized metals, adhesives are often not evenly applied, and usually show high level of signal attenuation. Testing of polyurethane bond material requires a lower probe frequency then most common inspection, since the material composition is not homogenized, and its grain structure is significantly larger in comparison to aluminium. Beside the ultrasound transmission issues, the geometry of the part (foam core for example), surface condition and probe access are also significant factors to be considered.
The current best solution is the through transmission shadow technique, using ultrasound penetration through a pitch and catch probe pair. The limitation of this technique being that access is required to both sides of the material. A dual or single element probe could be utilised and, in all cases, Sonatest recommends selecting a probe with a low damped piezoelectric crystal, having narrow band response, due to its higher sensitivity.
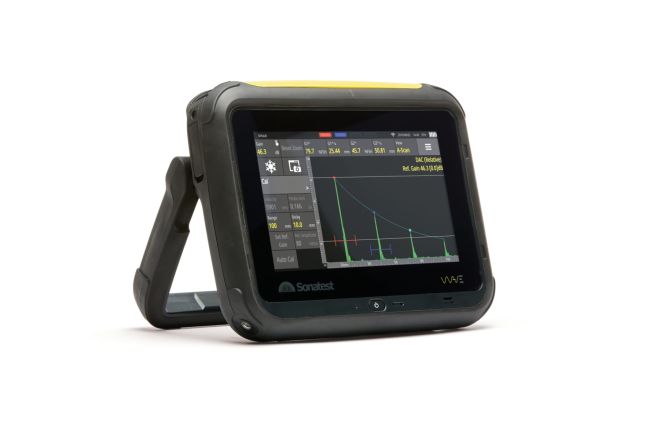
Go/No Go Implementation and Performance; Sonatest WAVE has a specifically designed feature for bond testing. A simple application pre-set can be programmed in the instrument with short-cuts for a more efficient operation. Furthermore, utilising the powerful pulsing capability and the wide band receiver to inspect less homogenised material makes WAVE a versatile tool for difficult inspection scenarios.
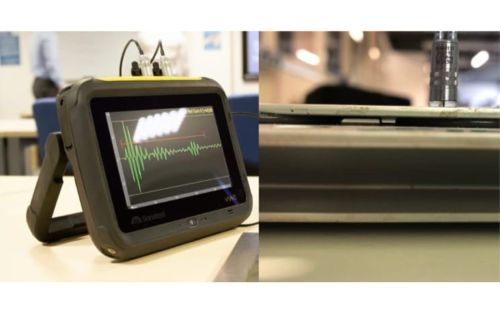
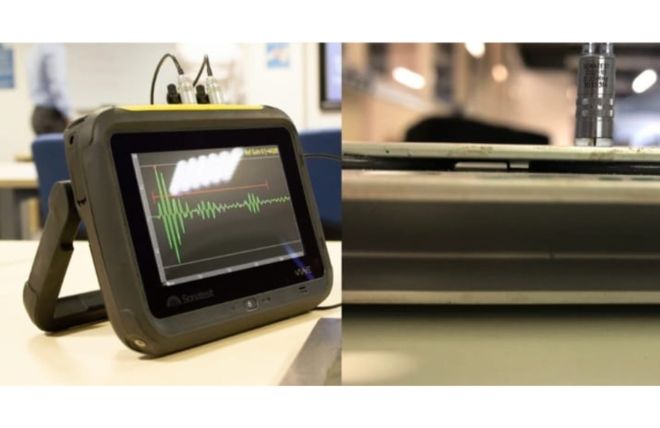
Fig. 1 - Overview of the inspection
Inspection Methods
The below methods show how this inspection can be carried out.
Pitch-Catch probe technique
The key to this technique is the shadow effect as shown in figure 2. One transducer is transmitting and on the opposite side of the material another probe is receiving. If the ultrasound encounters a highly attenuative bond resulting from say, poor adhesion then the signal will be absorbed or reflected and the signal caught by the receiving probe will be reduced thereby identifying the problem. The A-scan is typically fully rectified, and a negative alarm gate is used for a go/no-go call.
The pitch-catch example below shows an acceptable signal (left) matching the white reference line, and a reject signal (right) showing a very low amplitude signal and the red alarm bar at the top.
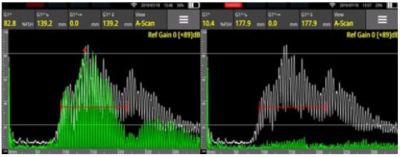
Fig. 2 - Pitch-catch example with acceptable signal (left) and a reject signal (right)
Pulse-Echo single probe technique
This is backwall echo attenuation monitoring combined with the bond line signal checking using a single element probe on the outer surface of the material. The unit should be set in RF mode, so the A-Scan shows the full polarity of the signal to spot the acoustic impedance changes. It is also possible to set a negative gate alarm, so the light indicates a defective zone when the signal is dropped. A typical flaw will indicate a low back wall percentage FSH and the bond line echo will increase in parallel.
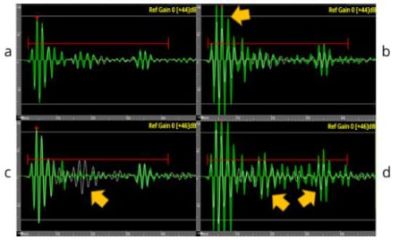
Figure 3 - Series of identified flaws in a two layer aluminium assembly with polyurethane bonding
a) Good bonding, b) Thin line, c) First layer is pulled off, d) Absence of glue
Dual crystal single probe technique
For difficult applications where the first layer is creating undesired echoes, the dual crystal probe can help. This is especially useful when dealing with thinner layers (less than 2 mm or 0.079 inch), the interface amplitude will improve the signal signature in the adhesive (bond material) to make it an easier go/no-go decision. If the incoming farthest echo is strong enough, it indicates that the signal is going through all the layers and with good bonding between the layers, a fair reference A-Scan and the lack of returning waves will be spotted efficiently.
Recommended Tool Package
| Category | Part# | Description |
|---|---|---|
| Acquisition Unit | WAVE | Interactive flaw detector with scan plan capabilities to aid in defect detection |
| Probe | STP Probe series, STARC Probe series, TSTARC Probe series | Through transmission, 0° single and Twin transducers for these inspections |
Please contact our Applications Team if you have any questions. You can also find more solutions on our website.
Stay up to date with our latest content. Sign up here to get our blogs delivered straight to your inbox.
Filter by Industry
- Aerospace Aeronautical
- Aerospace Astronautical
- Chemical & Petrochemical
- Oil & Gas
- Nuclear Energy
- Wind Power Renewables
- Transport Network Infrastructure
- Rail
- Military
- Maritime Shipping
- Automotive
- Pharmaceutical
- Mining
- Construction & Infrastructure
- Technology & Research
- NDT Service Providers
- NDT Education
Related Products
