- Application Notes
C-Scan Inspection of Pipework Utilising the WheelProbe 2
Pipework is a critical part of a system that can be overlooked and is often the most likely location of a failure leading to leaks and loss of containment, in turn leading to unscheduled plant shutdowns and repair.
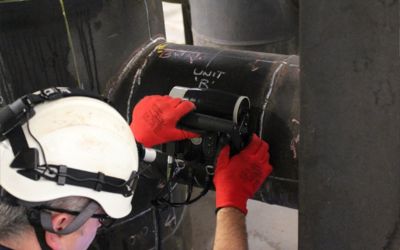
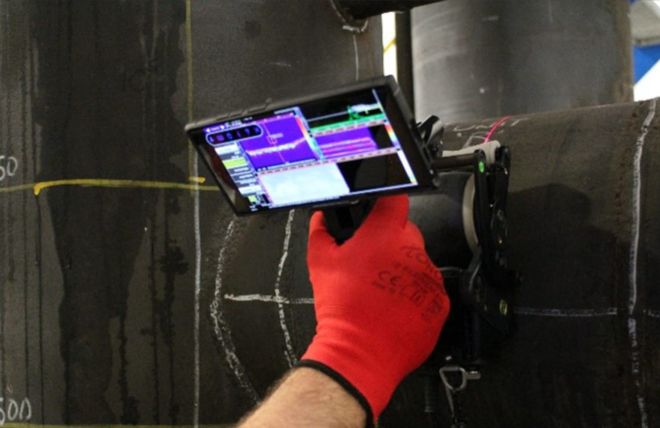
Fig. 1 - WP128 inspecting the full circumference of a straight pipe section
Pipeline inspection is usually limited to visual inspection and conventional ultrasonic (UT) 0° inspection at strategic locations, bend extrados, Tee flow impact areas, straight section cardinal point inspections etc. These inspections are targeted using the experience of the plant for expected / known failure locations on the line. With conventional UT spot checks there is always a chance of missing a major defect just by the small % of total area covered in the inspection.
Using the Wheel Probe 2 (WP2) 64 element and 128 element systems we can perform fast inspections of pipework, gathering full C-Scan mapping data consisting of thousands of points of data in localised areas of full sections of pipework.
Using UTMap this data can be used to locate and size areas of corrosion giving the minimum remaining wall thicknesses, give an area coverage of an area of loss, give a visual representation of the pipe condition and much more. As this method is repeatable you can gather data at points over the life of the pipeline, giving you corrosion rates, defect size tracking, allowing for prediction for required maintenance.
Using the WP2 to gather data can often just as quick if not faster than some conventional UT spot checking methods.
Circumferential Scanning
The WP2 64 and 128 versions can scan circumferentially on any pipe diameter 2” OD and above. The circumferential scan can be used to cover 100% of a pipe section.
Alternatively you can carry out full circumferential strip scans at given intervals e.g. every 1m. this gives a full 50mm (WP2 64 element aperture) or 100mm (WP2 128 element aperture) wide scan showing full C-Scan mapping details of the area in comparison to a spot check inspection where only 4 points are recorded at the cardinal points of the pipe. (see figures 4-5 for scan image examples)
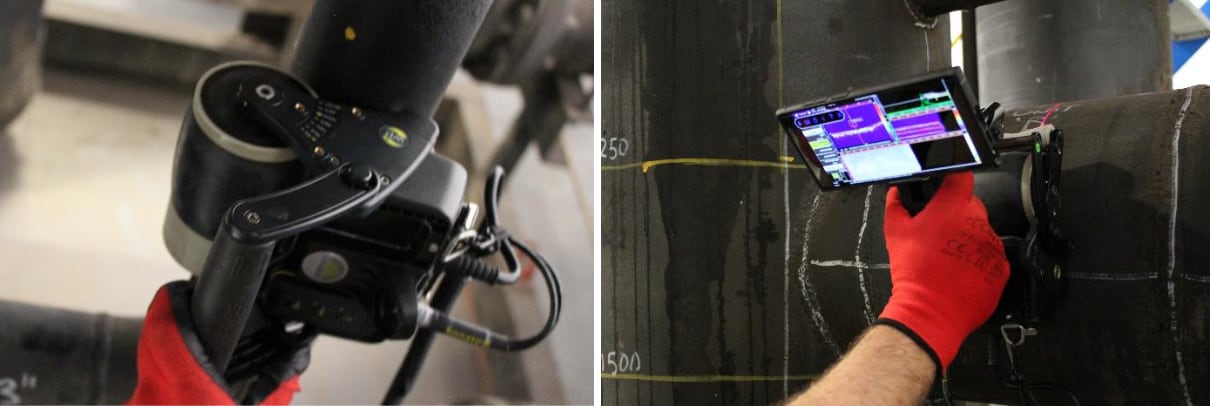
Fig. 2 - WP2 scanning on a 3” pipe and 12” pipe with the screen attachment
Axial Scanning
The WP2 is capable of scanning axially along the length of pipes and around bends, producing a strip of C-Scan strip of a pipeline straight section, bend, tee etc. the rubber material of the wheel is soft enough to adapt to the surface curvature, giving good contact for a wide area.
Strip scans positioned at strategic locations can detect wall losses due to corrosion or product flow related erosion, showing detail that can be missed using conventional UT spot thickness checks (see Figure 5 for data images of a strip scan).
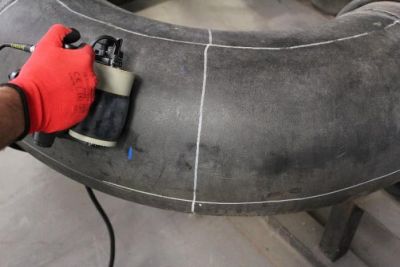
Fig. 3 - WP2 64 element carrying out an axial scan on the extrados of a bend section
Data Gathering Speed
The WP2 can gather data fast with speeds exceeding the 150mm per second general procedural limit, this means that full lengths of pipework scan be scanned in times equalling, or less than the conventional UT spot checking method, this while providing many thousand times more data points for the inspection.
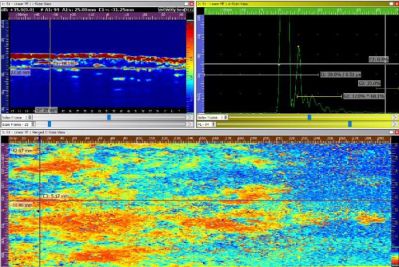
Fig. 4 - Example of a merged C-Scan map of a pipeline area consisting of multiple scan lines showing areas of internal corrosion
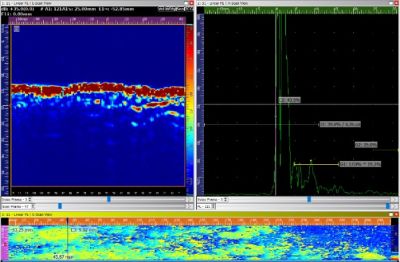
Fig. 5 - Example of a circumferential strip scan showing areas of internal corrosion
Conclusion
The WP2 (64 and 128 WP2 models) provide a fast and in depth solution to pipe inspection. The information gathered gives a deeper insight into the condition of pipeline assets than the conventional UT 0° spot thickness checking commonly adopted for these lines.
The inspection level can be adopted to the requirements of the asset managers and can be carried out with little to no loss in time compared to Conventional UT whilst providing more information for the fit for purpose calculations and plant management plans.
Recommended Tool Package
| Category | Part # |
|---|---|
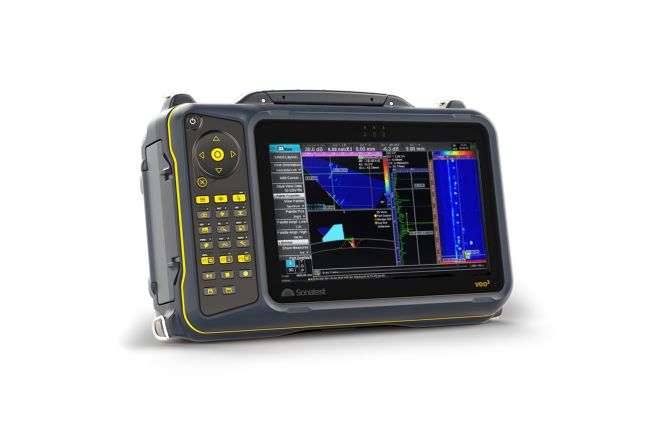
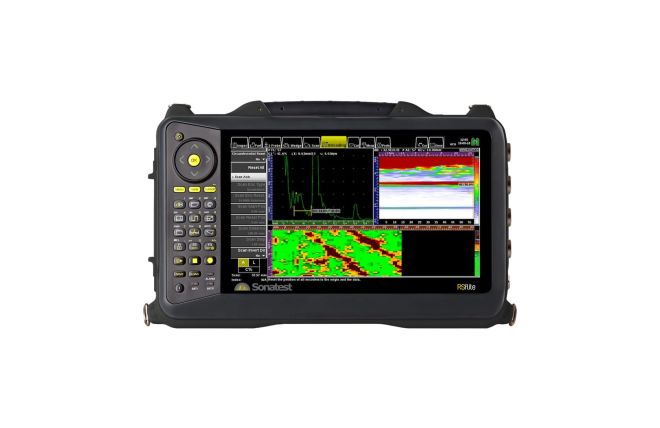
| Acquisition Unit | VEO3 / PRISMA / RSFlite data acquisition units |
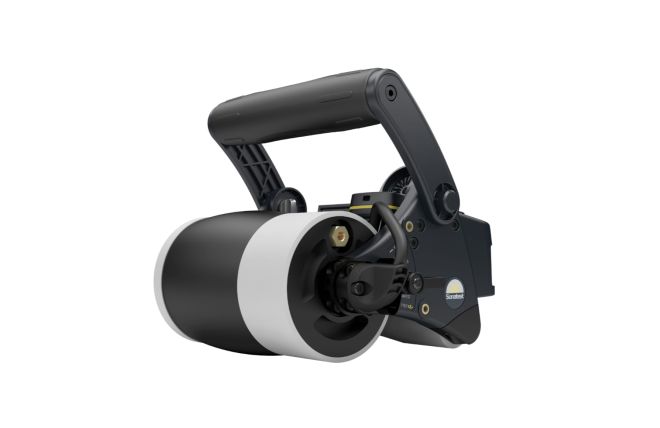
| Probes | WP2 64 / 128 versions available in 2, 3.5, 5 and 10MHz versions |
Please contact our Applications Team if you have any questions. You can also find more solutions on our website.
Stay up to date with our latest content. Sign up here to get our blogs delivered straight to your inbox.
Filter by Industry
- Aerospace Aeronautical
- Aerospace Astronautical
- Chemical & Petrochemical
- Oil & Gas
- Nuclear Energy
- Wind Power Renewables
- Transport Network Infrastructure
- Rail
- Military
- Maritime Shipping
- Automotive
- Pharmaceutical
- Mining
- Construction & Infrastructure
- Technology & Research
- NDT Service Providers
- NDT Education
