- Blog
Finding a Needle in a Haystack: UT Hints for Forged Parts
24th September 2025
Philippe Rioux, Sonatest
Zero-degree inspections with a single crystal probe are a well-known practice in NDT. Industry design requirements present smaller tolerances, making it a difficult task to catch smaller defects.
Some geometries can cause specular reflections that obscure small defect indications. New inspection strategies need to be applied to ensure the successful detection of indications and reduce false calls.
Modern forging techniques can create a wide range of shapes and complex geometries, and this means many NDT inspection scenarios. Some typical parts are rings, bars, hubs, stepped shafts, discs, blocks, etc.
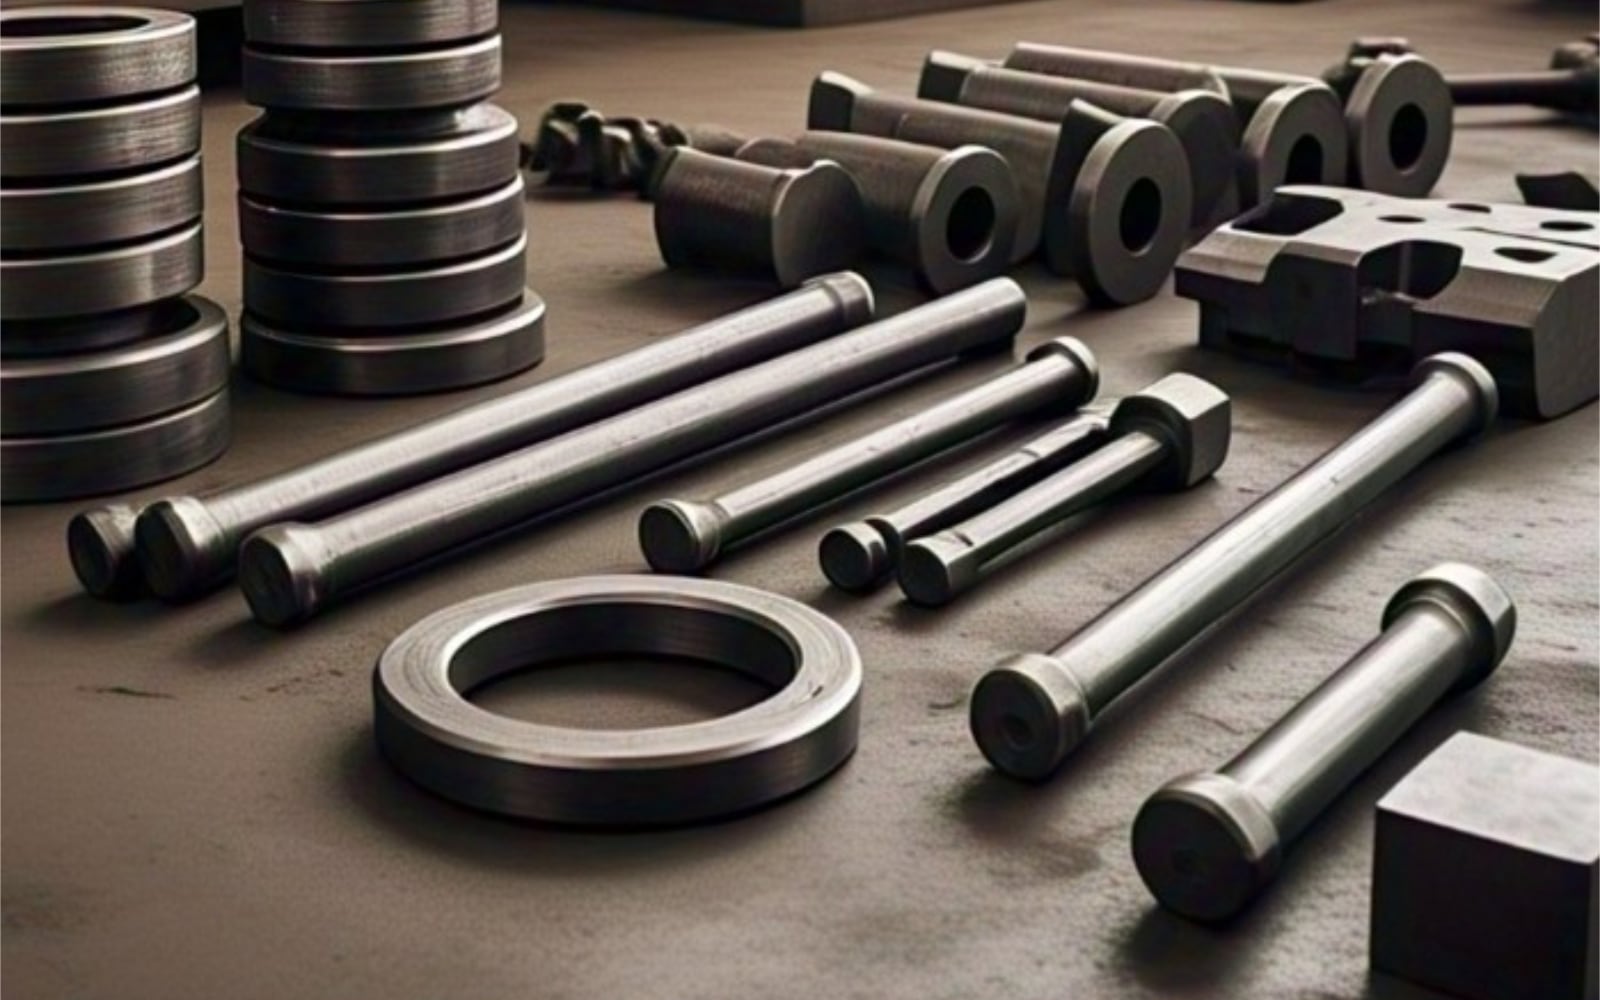
Fig. 1 - Typical parts: rings, bars, hubs, stepped shafts, discs, blocks etc.
Standards
For the given parts, you need to start your research by checking the relevant ISO or ASTM standards, for example. It is a good idea to begin with known practices before diving into the world of NDT solutions out there.
ASTM covers a wide range of forged steel standards and part specificities. You can find some insights in our blog on ASTM UT standards for forged parts.
The Challenge for Ring Inspections
First, the contact surface is on the outer diameter (OD) of the ring, and the beam hits the inner diameter (ID) convex surface. Second, a small minor defect near the inner surface does not provide a powerful specular reflection to a 0° beam; instead, it is easier to detect slightly off centre using the beam spread. When using BEA, if the gate parameters, echo attenuation, and scanning gain amplitude are not optimized, minor defects will be included in the gain reduction area and remain invisible to the user.
The Solution
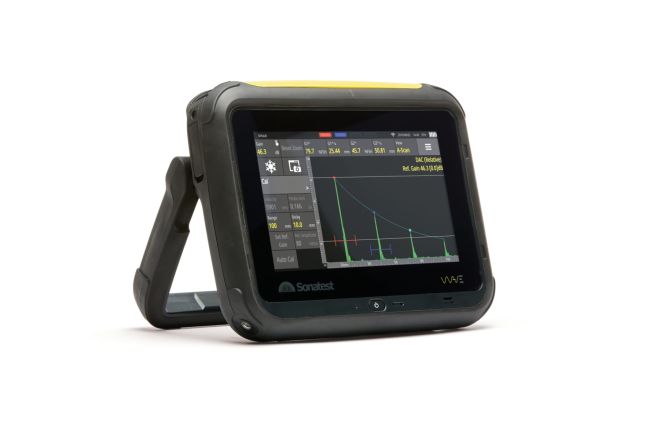
Sonatest recommends working with an echo attenuation zone covering only the BW echo; signals before AND after this zone are not affected by the gain reduction. This way, a high scanning gain will make small defects visible on the A-scan and, at the same time, decrease the saturated geometry echo. It will now be possible to reveal low-energy echoes before and after the strong back wall, for example.
Results
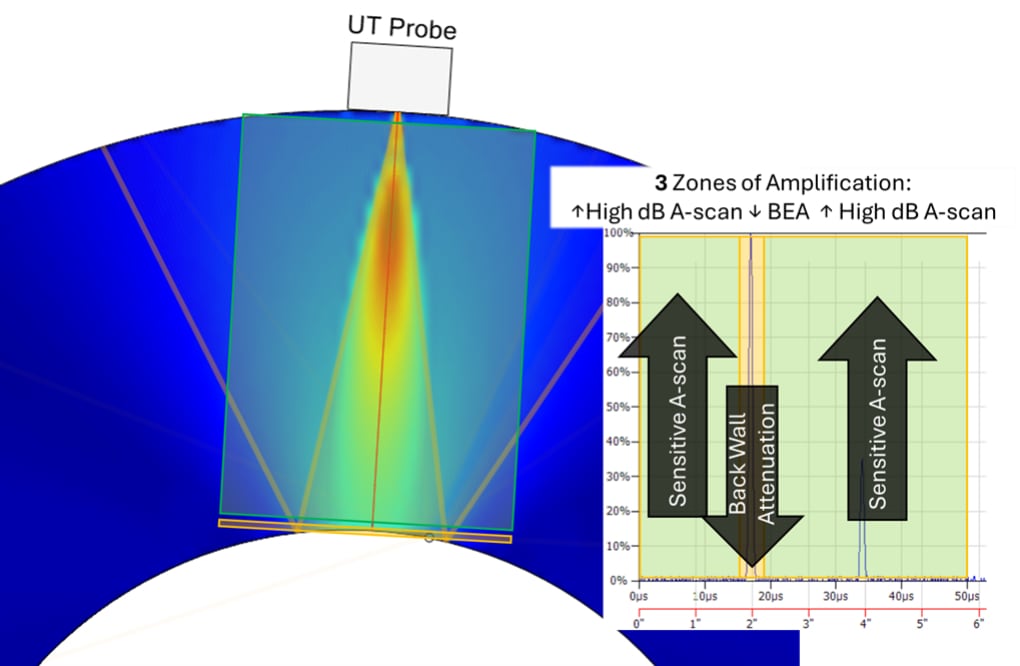
Fig. 2 - A-scan setup for a successful sensitivity around the back-wall echo. Any indications near the ID region are to be found and might be hidden by the main back-wall signal

Fig. 3 - BEA cleans and decreases the back-wall height for a reliable inspection. (Zonal BEA since Wave v.2.1)
Conclusion
The Wave has key features that allow efficient inspection for cast and forged ring geometries. A high-quality A-scan signal combined with the interactive scan plan and specialised tools like the BEA is unquestionably the right product for those situations. If you still have doubts about your inspections, please contact us below.
Please contact our Applications Team if you have any questions. You can also find more solutions on our website.
Stay up to date with our latest content. Sign up here to get our blogs delivered straight to your inbox.
News Filter...
The latest news from Sonatest direct to your inbox.
Tags
