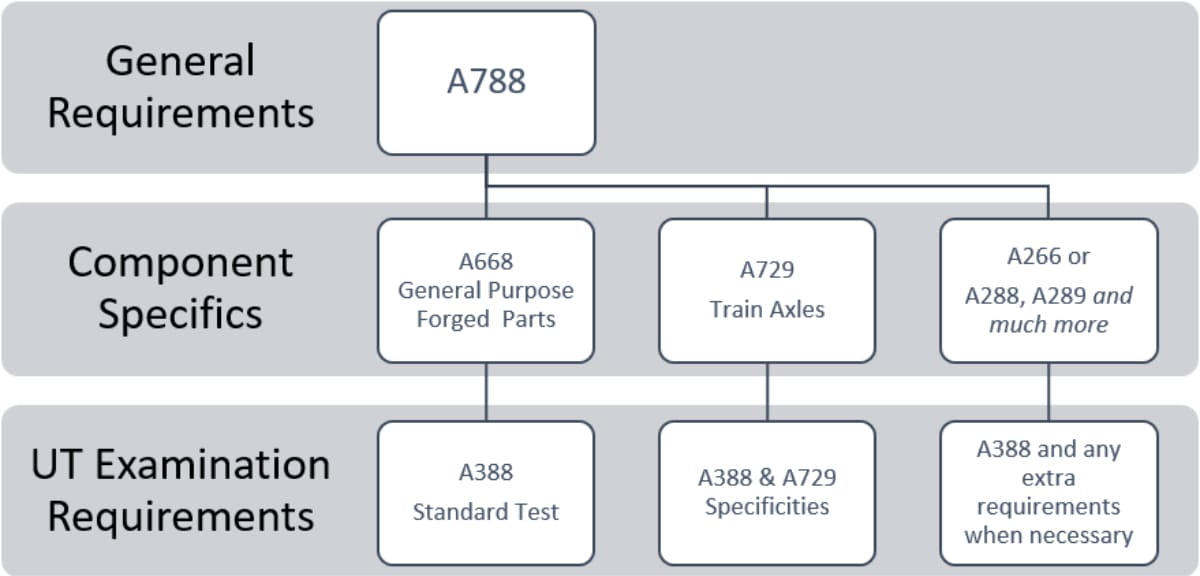
Figure 1 – Example ASTM Specification Tree
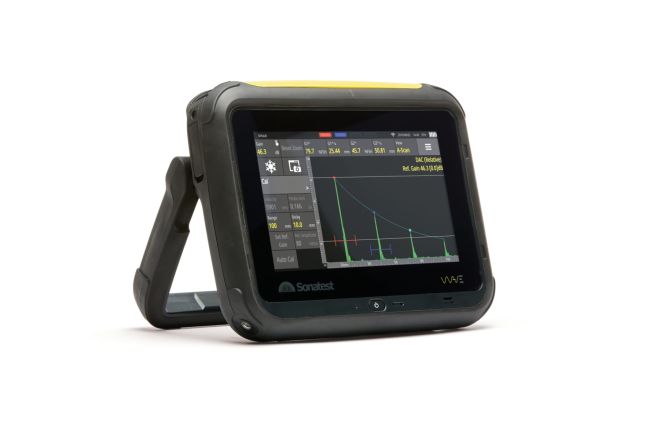
The Sonatest Wave and Transducers for use with ASTM A388
ASTM A388 describes the procedural requirements for an ultrasonic inspection of steel forgings. We will look at some key points and comment on how the Sonatest WAVE instrument hardware and software can be utilised to meet these requirements for an inspection.
Equipment Requirements:
- A388 - 6.1: “The system shall have a minimum capability for examining at frequencies from 1 to 5MHz. On examining austenitic stainless forgings, the system shall have the capabilities for examining at frequencies down to 0.4MHz”
- We have 8 centered frequency filters (1.0, 1.25, 2, 2.25, 3.5, 4.0, 4.5 and 5.0 MHz), and our lowest bandwidth filter reaches 0.25 MHz covering the above requirements
- A388 – 6.1.1 to 6.1.2: requirements for annual system calibrations to a specific standard
- Sonatest can carry out annual calibrations and provide a full ISO calibration report for each instrument. It complies with the ISO 22232-1 (and, like ASTM E317) standard to provide precise and accurate flaw-detecting performance
Personnel Requirements
A388 frames the forging ultrasonic testing training requirements as SNT-TC-1A or acceptable national standard, personnel sitting the in-house SNT-TC-1A training or other training courses Will find in the WAVE a perfect platform to learn on, the WAVE is being used as THE system in training schools internationally.
Examination Procedure
Section 9 inside A388 describes separately the ultrasonic straight and angle beam inspection requirements for calibration and inspection.
The calibration procedure details the steps needed and the suggested blocks, e.g.: step wedges for straight beam calibration and for angle beam that would likely use a DAC, IIW, K1 or V1 blocks.
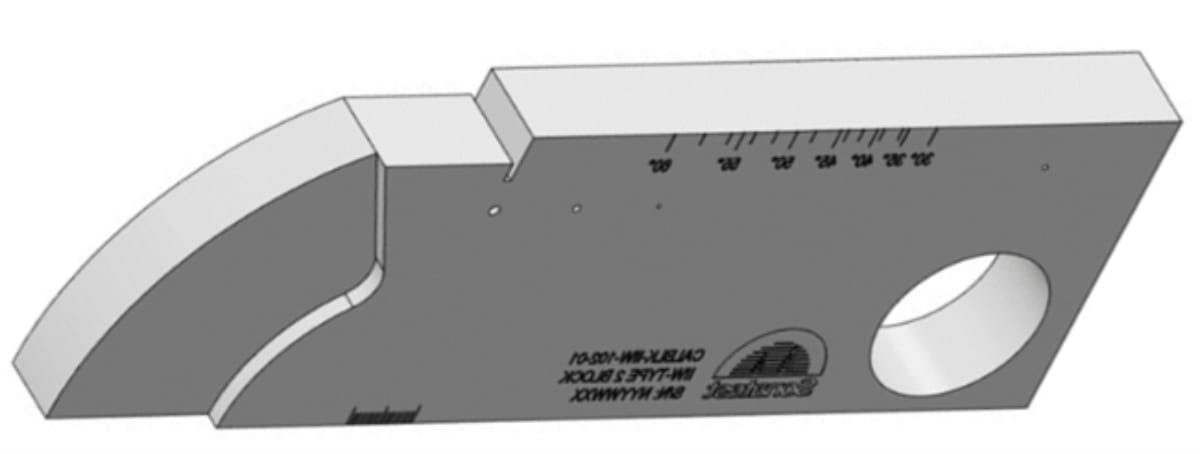
Figure 2 – IIW Type 2 Calibration Block
DGS curves and DAC curves can be needed for inspections. The WAVE has DGS curves stored on board, and the DAC curve generation is simple and fast.
Evaluation
Section 10 defines the levels at which certain indication types shall be recorded for reporting to the client.
For accurate detection and recording of indications, the information provided by the system and the quality of the displayed signal is critical, the main sizing information comes from the amplitude of the signal, as well as its time of flight in the material. the procedure includes backwall echo monitoring, surface roughness checking, daily amplitude loss check, or even recording small indications down to 10% FSH.
The Wave has a customizable set of measurements at the top of the screen, providing the vital information needed in a clear location. Up to 4 gates can also be positioned strategically to alarm when defect indications are detected.
The WAVE has a Scan plan and screenshot capabilities that allow for the recording of an image of a sign and inputting comments relating to the image. These can then be included in a report after the inspection.
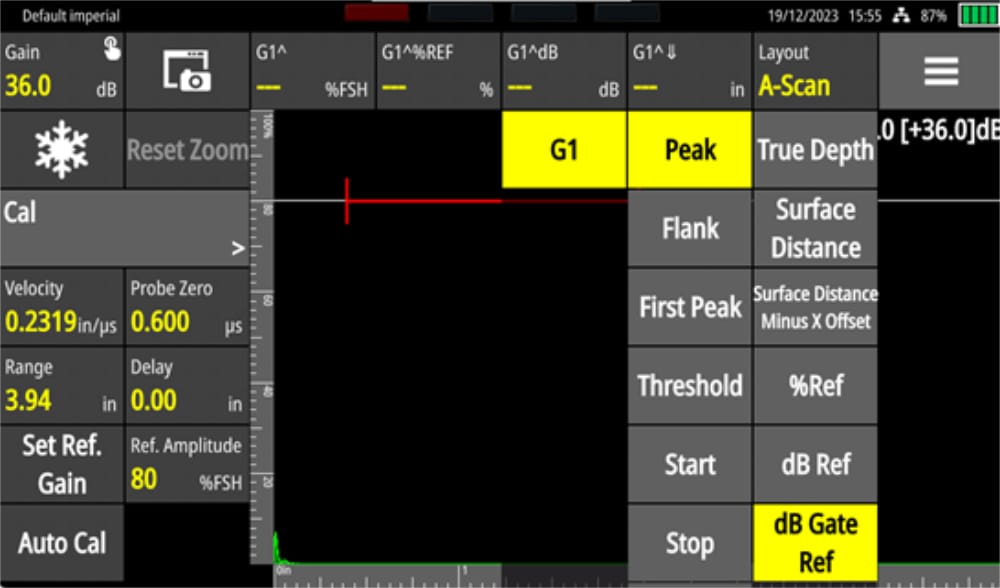
Figure 3 – WAVE Measurement Bar Value Selection Options
Report
During an inspection, the user may identify multiple individual indications that require extra attention and reporting. For a standard traceability reason, the screen shot implementation automatically saves of the current configuration settings (AKA metadata). Those indications can be tracked in a single click, anytime, available from the main screen.  That screenshot feature captures the part geometric dimensions, the tested piece number, etc. This precious information is a crucial to a successful report as requesting the section 11 of the A388 code.
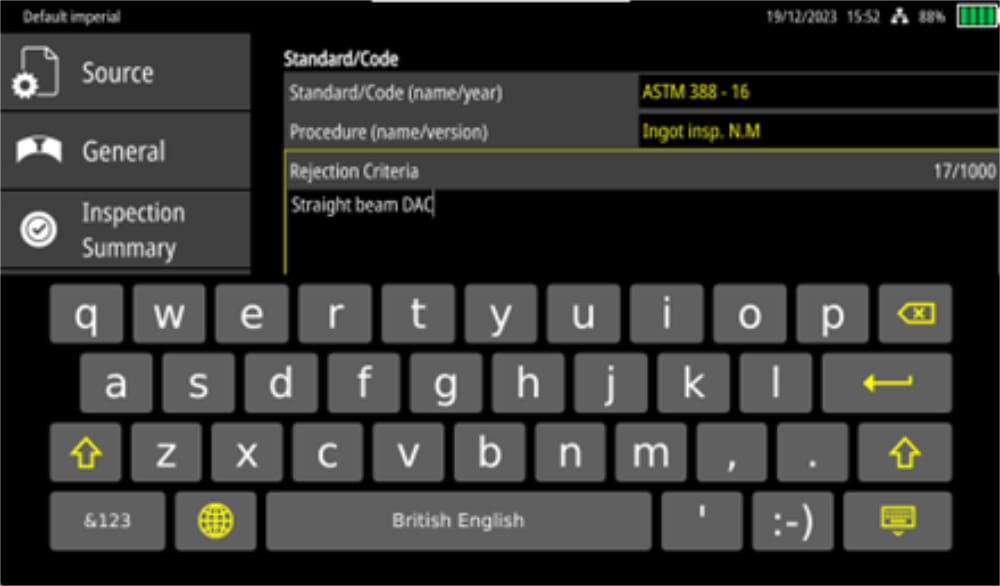
Figure 4 - WAVE Report Generation
Conclusion
We hope this was a useful read and that it will be more logical next time you have to investigate the ASTM standards.
Please contact our Applications Team if you have any questions. You can also find more solutions on our website.
Stay up to date with our latest content. Sign up here to get our blogs delivered straight to your inbox.
News Filter...
The latest news from Sonatest direct to your inbox.
Tags
Related Products
