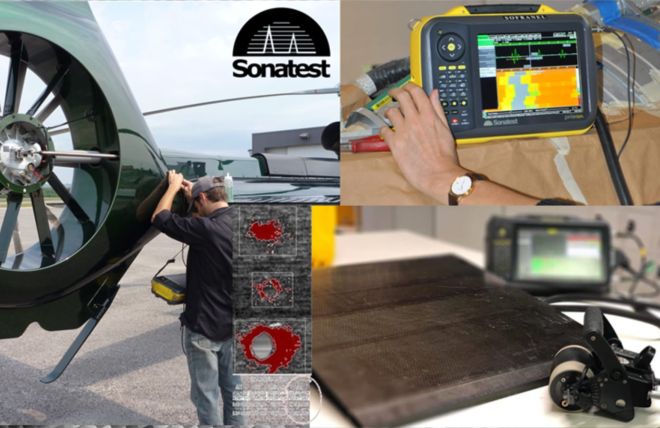
Ultrasonic Non-Destructive Testing (NDT) has revolutionized the way engineers inspect composite materials, allowing for full surface and volumetric integrity coverage as well as comprehensive inspection maps to be generated with ease.
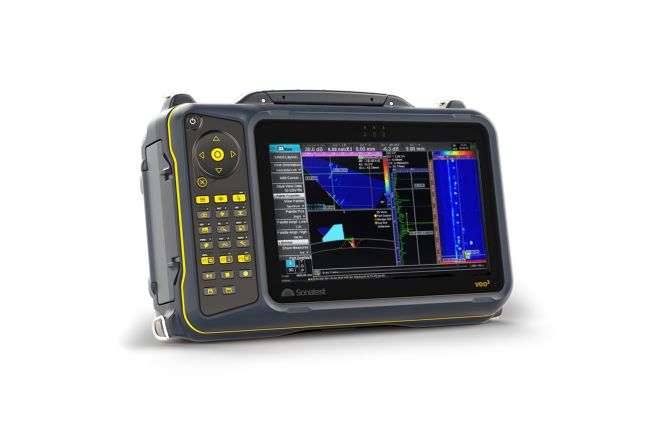
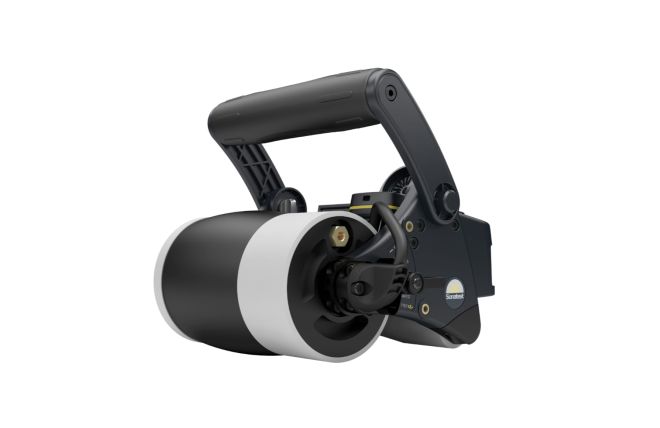
However, there are still challenges when inspecting composite structures, such as large part dimensions, complex geometries (over 400 unique laminated parts in an helicopter for example) , the need for increased productivity, and variations in acquisition conditions. To tackle these obstacles, Sonatest offers a range of composite inspection solutions that covers both, dedicated instrumentations and specialized transducers. Advanced instrumentations include the flagship linear array RSflite as well as the versatile phased array VEO3 and Prisma product line. They are offering wide ultrasonic coverage and high scanning speed when combined with the patented Sonatest Wheel probe.
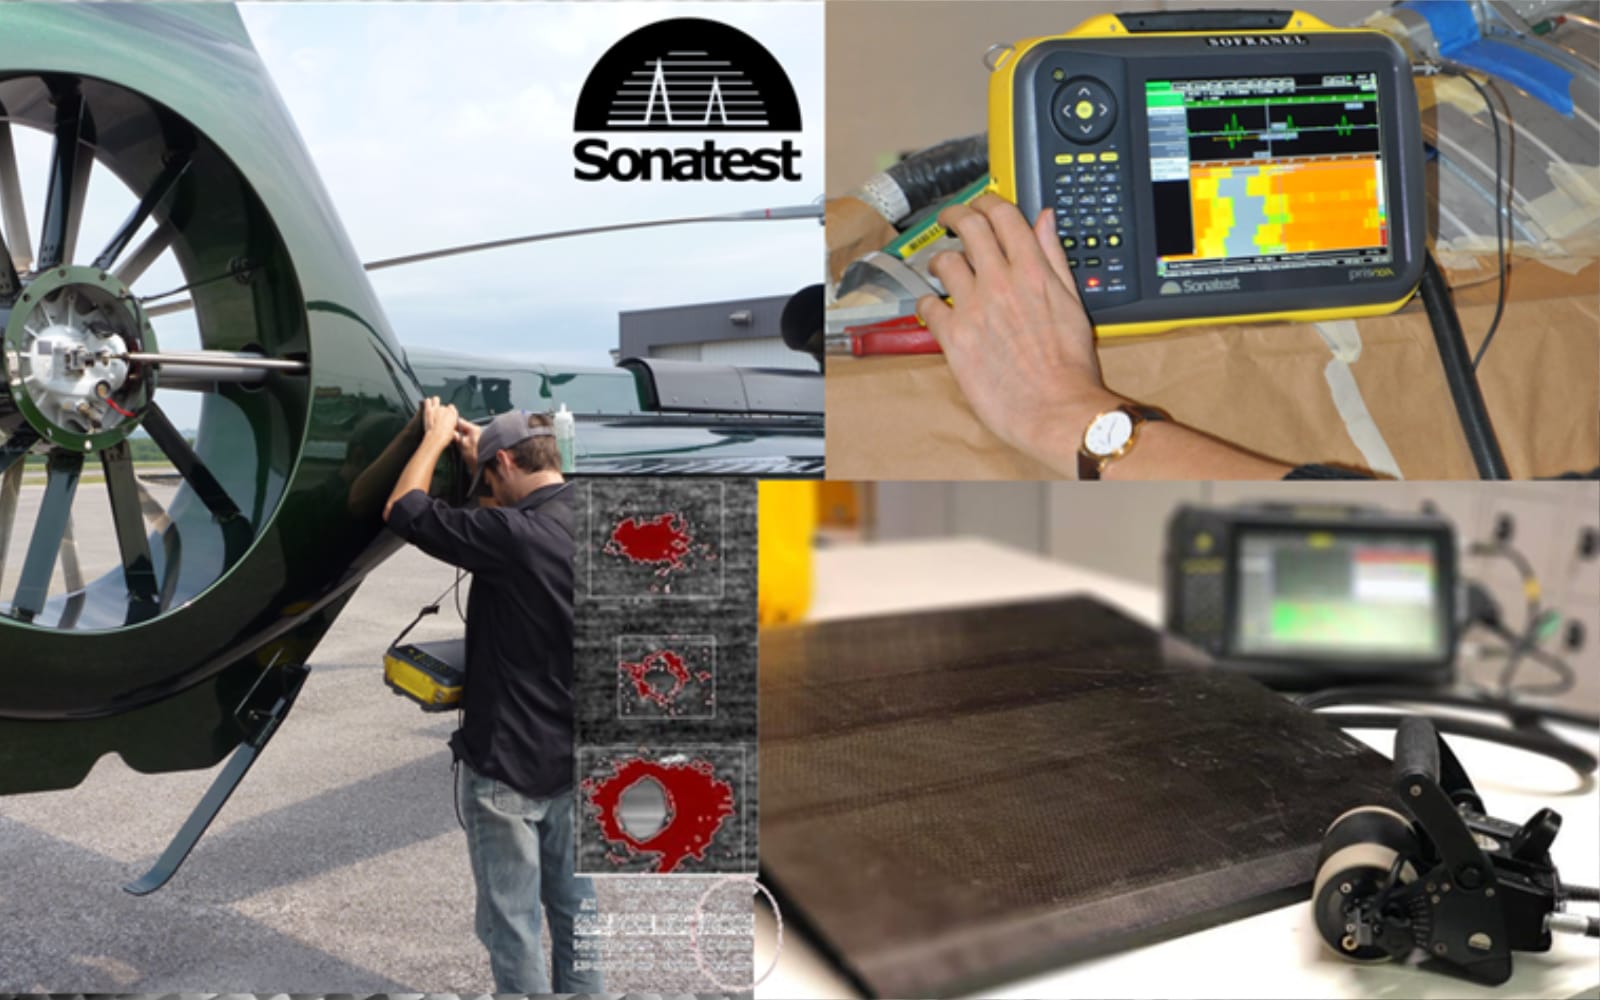
D-70, Prisma, Veo and RSflite/WP2 Product Line
Composite Design
Nowadays laminated composite parts are not just designed to save weight. There are significant possibilities and advantages to use composites. Molding complex shapes with laminated composites offers unique opportunities for designers and manufacturers. The materials' design flexibility, lightweight construction, enhanced mechanical properties, corrosion resistance, thermal and electrical insulation, and versatile applications make them an attractive choice for a wide range of industries and product designs.
Impact of a 100% Volume Inspection
It is common to witness regular maintenance NDT inspections in the aerospace industry as safety is vital for every flight. Throughout its lifetime, an airplane undergoes numerous inspections, necessitating rigorous procedures to ensure reliable and consistent results.
In aerospace design and production, every part is manufactured with stringent quality requirements. It is essential to achieve complete mapping of flat surfaces, corners, and stiffener regions. The 100% full mapping is mandated by design because the strength & the resistance properties of shaped laminates rely on their defect free evaluation (such as porosities or resin pools). In the case of stiffener assembly, bonding is more significant, so the weakness is likely an air gap reflection.
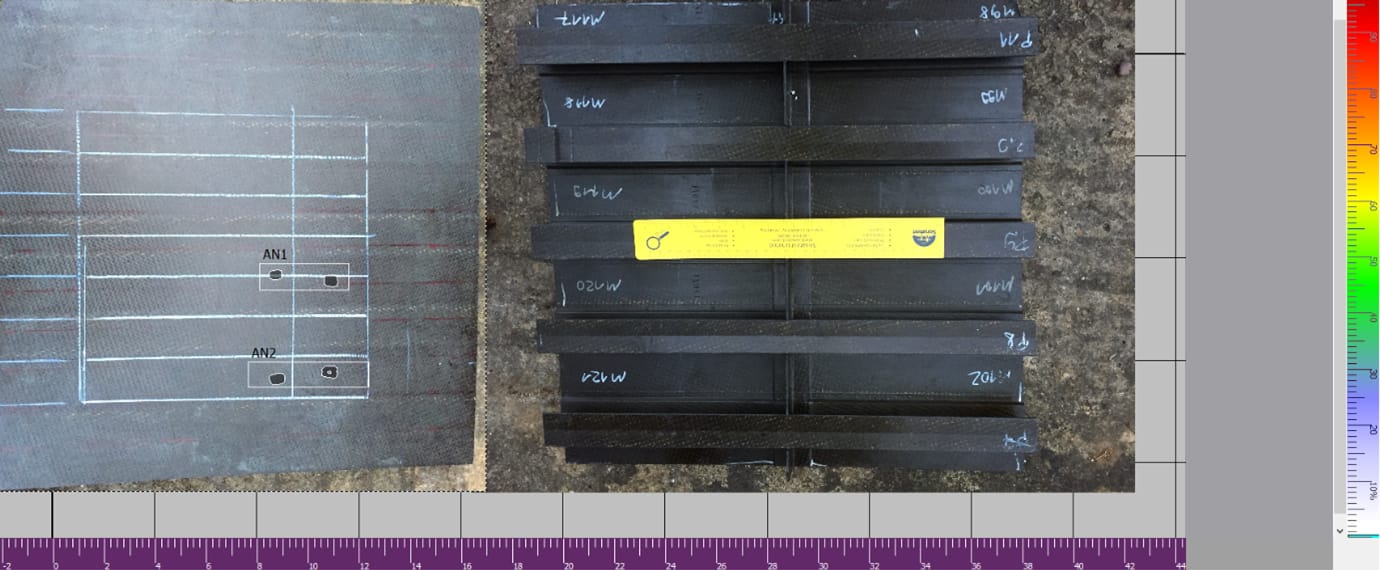
Stiffener Part Example - Embedded photo in UTmap
Streamlined Solutions for Composite Characterisation
To ensure a comprehensive characterization of composite defects, inspectors need to examine multiple aspects of the signal information. This involves obtaining A-scans at regular intervals of 1 mm throughout the inspected area, which can be hard to fully evaluate because it solves singular resistance and lightweight applications as explained in the previous section. The testing challenges do not stop there, a correct data extraction requires precise gating, which is critical for achieving a reliable relative mapping of defects. At Sonatest, our comprehensive software solutions, including both embedded and PC-based options, streamline the analysis process from the early screening test to the final report results, making it easier for inspectors to obtain exact and actionable insights even if the geometry design is unique.
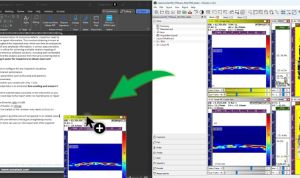
Drag & Drop Third Party Reporting
- Our instrument configurations carry many challenging situations
- Region of interest optimisation
- Enhance l-scan parameters such as focusing and aperture
- Recording is fast and convenient
- You can rest, position your probe with only 1 click
- Viewing the encosed data is an enhanced Live scrolling and instant C-scan result.
- Reviewing the entire scanned data is possible in the instrument so you can shortcut the next step to the report when no maintenance or repair action is taken
- Data transfer is over the Ethernet, WiFi or USB
- Open the data as is in UTstudio+ or UTmap
- User layouts can be loaded so the reviewer only focus on damaged zone
- Re-gating IFT or gates is possible and will be applied to all related views
- Software tools with pre-defined criteria give results straightaway
- Third party report tools integrate CSV export, PNG snapshots and more!
UT is a fast and accurate NDT technology that is widely used for inspecting composite materials. As always, Sonatest have developed solutions to overcome these recent composite inspection challenges and improve productivity at the same time.
Read our latest paper highlighting the benefits of using ultrasonic linear array technology and the challenges that technicians may face while using it.
Please contact our Applications Team if you have any questions. You can also find more solutions on our website.
Stay up to date with our latest content. Sign up here to get our blogs delivered straight to your inbox.
News Filter...
The latest news from Sonatest direct to your inbox.
Tags
