Calibration Blocks
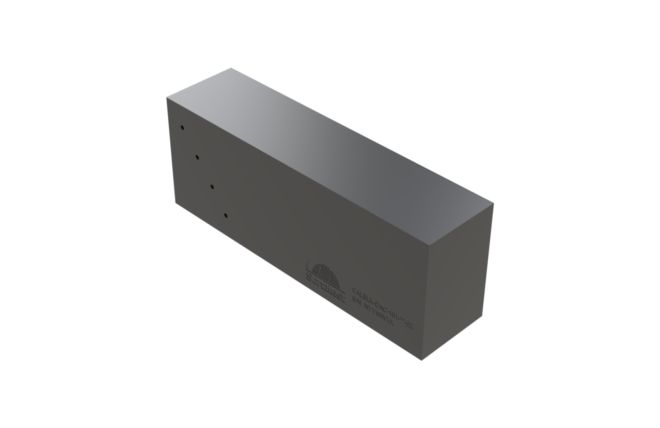
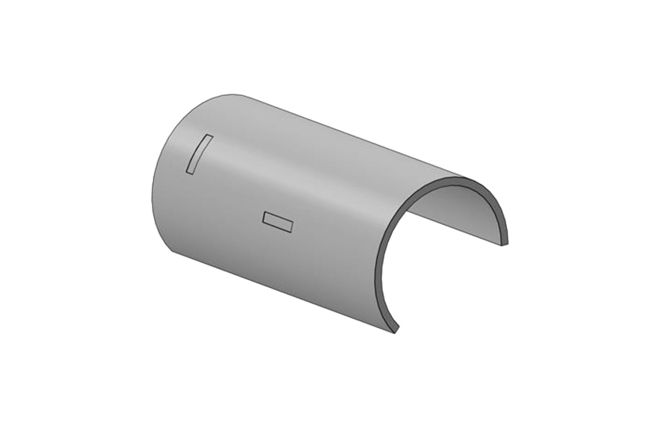
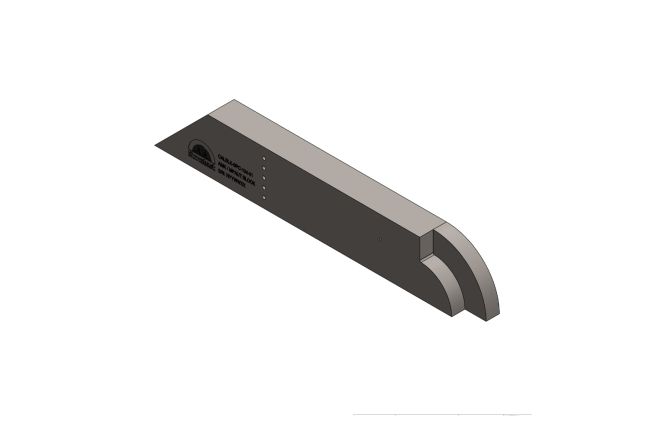
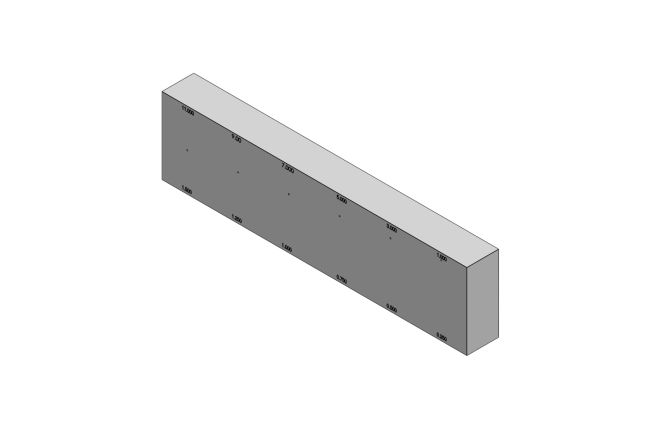
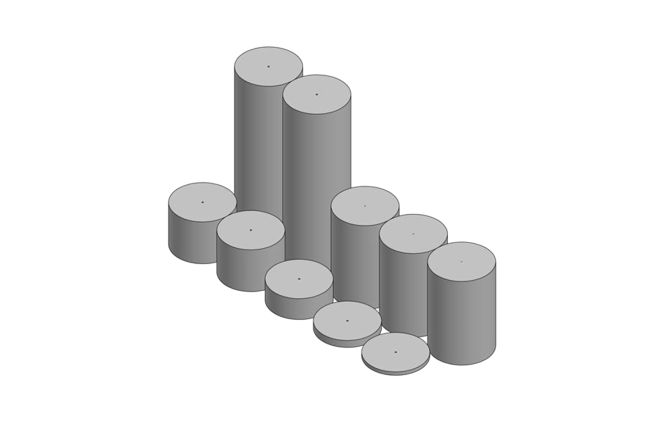
Calibration Blocks, or standards, for ultrasonic testing come in many shapes and sizes. The type of calibration block depends upon the NDE application, the product being tested, and the form and shape of the subject being inspected.
Calibration Block Materials
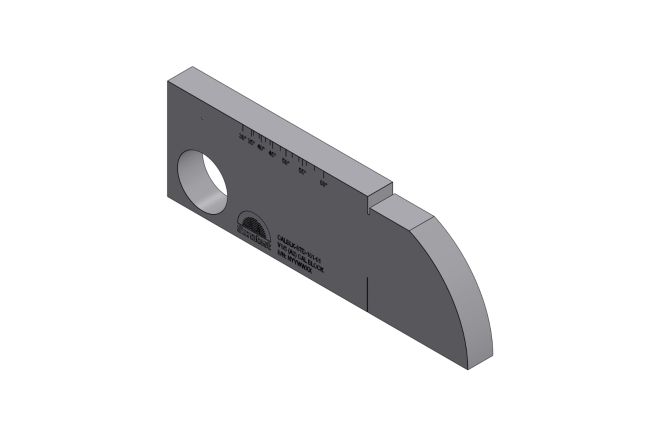
The material of the Reference Block should be the same as the material being inspected and the artificially induced flaw should closely resemble that of the actual flaw that the operator is testing for. A test block made from the correct material ensures accuracy and consistency in inspection results.
Calibration Block Frequently Asked Questions
Calibration blocks are essential tools in non-destructive testing (NDT). They are used to establish reference points, verify the accuracy of ultrasonic instruments, and ensure the consistency of measurements across different inspections. These blocks make sure that technicians can calibrate their equipment accurately, and ensure the inspection is carried out with reliable and consistent settings. For product documentation or results sharing, many suppliers also offer the option to request details via email for added convenience.
Several types of calibration blocks cater to various testing requirements and standards. These include:
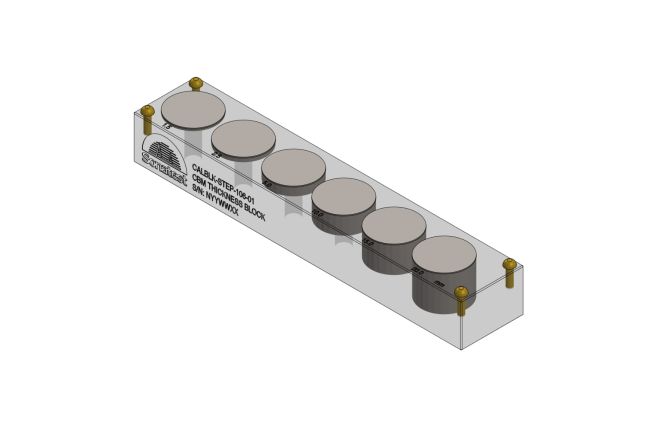
- Step Wedges: Suitable for thickness measurement applications, available in different step configurations such as 5 Step Wedge, 8 Step Wedge, and 10 Step Wedge, the range of thicknesses vary depending on the material thickness of the application.
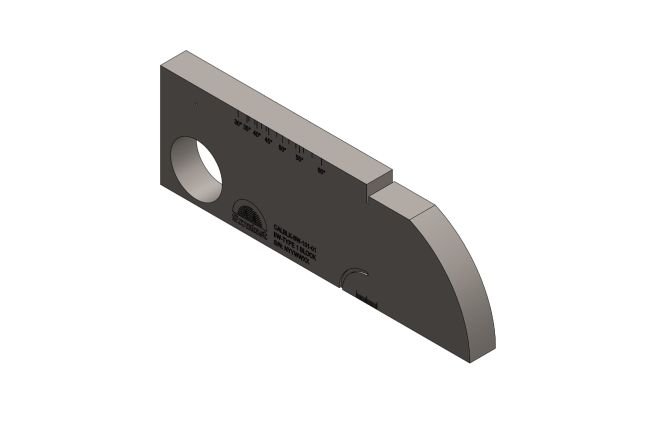
- General Blocks: Used for standard calibrations, including but not limited to V1 / A2 Block and No1 / K1 Block.
- DAC Blocks: Ideal for setting DAC / TCG curves in shear and compression wave inspections.
- ASME / AWS Blocks: Specifically designed to meet ASME standards, like the ASME V T-434.2.1 Plate for plate inspections.
Other specific calibration / reference blocks are available for specific standards and applications.
DAC (Distance Amplitude Correction) blocks are specialised in setting up distance-amplitude correction curves in ultrasonic testing machines. These blocks contain pre-drilled holes at specific depths which simulate flaws at varying distances. This sizing method allows the technician to evaluate detected indications against set acceptance criteria.
When choosing a calibration block, the specifications, standards, or your company procedures required for the inspection (such as ASME for pressure vessels) dictate the type of calibration block needed. Consider the material of the block, which should match the material and any heat-treating processes of the component being inspected to simulate the inspection conditions accurately. The type of reflectors simulated by the block (like the side-drilled holes or notches) should also resemble the expected flaws in the inspection process.
