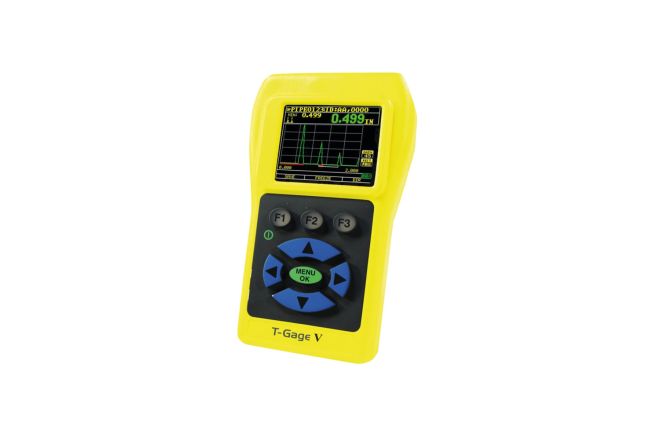
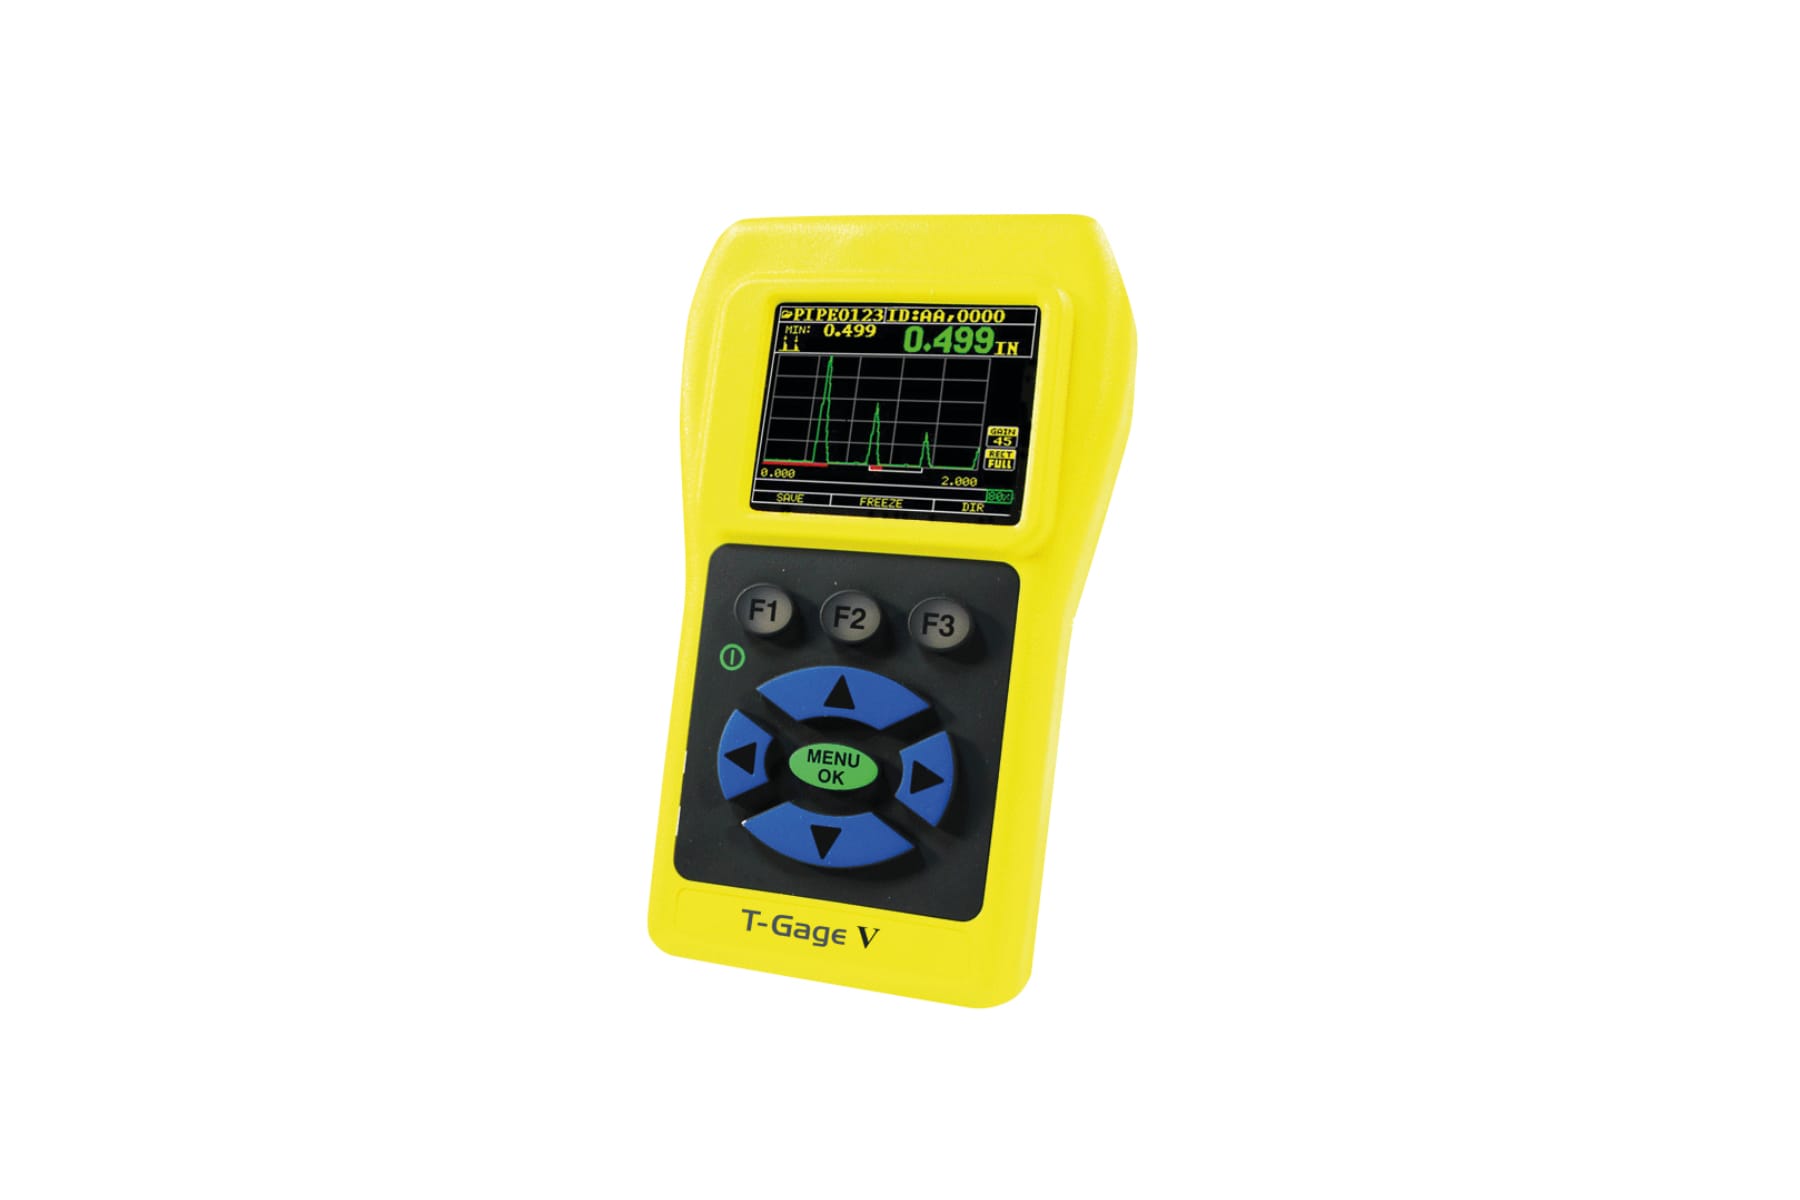
T-Gage V
The T-Gage V series offers the latest technologies that will make inspection easier and each model has been built to perform in the roughest of industry conditions.

Overview
The T-Gage V series of gauges come with monochrome displays as standard to enhance the user experience functionality. Simple upgrade options are available throughout the life of your gauge.
Features
T-Gage VB
The T-Gage VB is a basic variable velocity gauge with probe and is the most economical model designed to make reliable, accurate thickness readings; primarily on steel structures with access to only one side. Packaged in custom moulded high density casing with a rubber keypad, this gauge offers the end user a simple deliver datalogging function.

T-Gage V
As a mid-range model, the T-Gage V offers the most popular features including echo-to-echo (E-E). These include increase/decrease in gain; vibrate and illuminate the keypad in alarm conditions and with the “transducer attendant” – the end upgradeable options include A/B-Scan capability and the data logging software, Data XLS.
T-Gage VDL
The T-Gage VDL is the top of the range model offering all logger taking up to 50,000 readings, B-Scan and Echo-to-Echo functions. It also includes the Data Management Software, customised pouch belt clip and elasticated band.
Further model options include:
- T-Gage V W: E-E, A-Scan
- T-Gage V DLW: E-E, Datalogger, A-Scan
W = A/B Scan
| Feature | Description | T-Gage VB | T-Gage V | T-Gage VDL |
|---|---|---|---|---|
| Thickness Range | 0.20mm – 508mm (0.008 – 20inches) (dependant on material temperature and transducer selection) | ✓ | ✓ | ✓ |
| Delay Line Zero Measurement | Auto at power up with listed numeric value. Ideal for correcting delay line wear/curvature & for transducer acoustic drift at elevated temperatures | ✓ | ✓ | ✓ |
| Differential Mode | Displays the difference from the actual thickness measurement and a user entered reference value | |||
| Scan Mode | Displays minimum or maximum thickness value at 20 measurements per second | ✓ | ✓ | ✓ |
| Hold Mode | Holds display to retain last thickness reading with reverse video display | ✓ | ✓ | ✓ |
| Freeze Mode | Freezes display | ✓ | ✓ | ✓ |
| Units | Inches/Millimetres/Microseconds | ✓ | ✓ | ✓ |
| Gain | Low, Standard or High for varying test conditions | ✓ | ✓ | ✓ |
| Differential Mode | Displays the difference from the actual thickness measurement and a user set reference value | — | ✓ | ✓ |
| Alarms | Maximum depth, vibralarm, beeps and display flashes as well as keypad illumination | — | ✓ | ✓ |
| Automatic probe wear indicator | Automatically informs the operator to replace the transducer (patent pending) | — | — | ✓ |
| Echo-to-Echo | Measures the metal thickness only (ignores paint and coatings) | — | ✓ | ✓ |
| Non-Encoded B-Scan | Displays a cross section of the test piece | — | — | ✓ |
| Data XLS | Datalogging software – Upgrades available | — | — | ✓ |
Ask an Expert Download Brochure (411.2KB) Request a Demo
Specification
| Physical | |
| Weight | 230g (8 ounces) |
| Size | 76.2mm x 127mm x 31.8mm (3” x 5” x 1.25”) |
| Operating Temp | -20° to 50°C (-4° to 122°F) |
| Material Surface Temp | -20° to 537°c (-4° to 1000°F) Depending on probe use |
| Ergonomics | User selectable left or right display change via keypad (patent pending) |
| Backlight | Light emitting diode. On/Off or Auto On, based on valid reading being taken or last key press |
| Shut Off | Auto time out (after X minutes user programmable after no-reading, loss or no keypress) |
| Power Source | |
| Battery Type | 2 x AA alkaline |
| Battery Life | Operates for 50 hours (20 hours with backlight on) |
| Display | 128 x 64 Graphics LCD monochrome. |
| Information Displays | LoS, min, max, large reading while displaying min at the same time, velocity, zero, calibration, units, freeze, unfreeze, % battery life remaining, gain – low, std, high, echo to echo symbol |
| Resolution | 0.01mm (0.001 ins) |
| Bandwidth | 0.5 - 20MHz (-3dB) |
| Measurement rate | 20/sec and 4/sec in fast mode |
| Units | English/Metric/Microseconds |
| Warranty | Limited 2 year warranty on parts and labour |
| Casing | Customised, splash proof (IP54), high impact plastic with rubber. Illuminated keypad for go/no-go testing |
| Shipping Case | Hard plastics with high density moulded cut out for all accessories (optional) |
| Carrying Pouch | Custom moulded pouch with wrist strap for left or right handed operators (optional) |
Ask an Expert Download Brochure (411.2KB) Request a Demo
Accessories
Standard T-Gage V series kit includes:
| Description |
|---|
| UT Thickness gauge |
| Echo-to-Echo mode DG537 twin crystal 5Mhz 0.375”/9.52mm dia. potted probe |
| Operator Manual |
| Cable |
| Carry Case |
Standard T-Gage VB series kit includes:
| Description |
|---|
| UT Thickness gauge |
| DKS-537 twin crystal 5Mhz 0.375”/9.52mm dia. potted probe |
| Operator Manual |
| Cable |
| Carry Case |
Standard T-Gage VDL series kit includes:
| Description |
|---|
| UT Thickness gauge |
| Echo-to-Echo mode DG537 twin crystal 5Mhz 0.375”/9.52mm dia. potted probe |
| Operator Manual |
| Cable |
| Carry Case and Pouch |
| Data XLS |
| USB Cable |
Ask an Expert Download Brochure (411.2KB) Request a Demo
Downloads
Brochure & Specification
| Type | Title | Date | Size | |
|---|---|---|---|---|
| T-Gage V Series Brochure | 09/23 | Download | 0.40 MB |
| Date | File | Version | Size | |
|---|---|---|---|---|
| 08/23 | T-Gage VC Software Update | 3.57 | 358kb | Download |
| 08/23 | T-Gage V Software Update | 3.57 | 341kb | Download |
| 11/25 | Data XLS Software | 3.29 | Download |
Ask an Expert Download Brochure (411.2KB) Request a Demo