Sitescan D-50
Sonatest Sitescan Flaw Detectors have always meant highly reliable, technician focused flaw detection equipment and this model builds on that tradition.

Overview
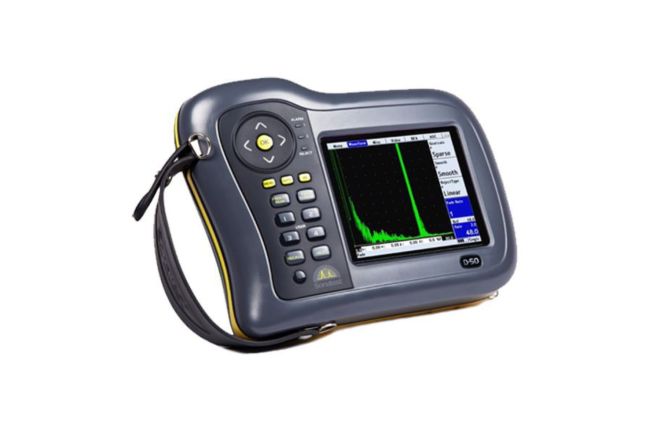
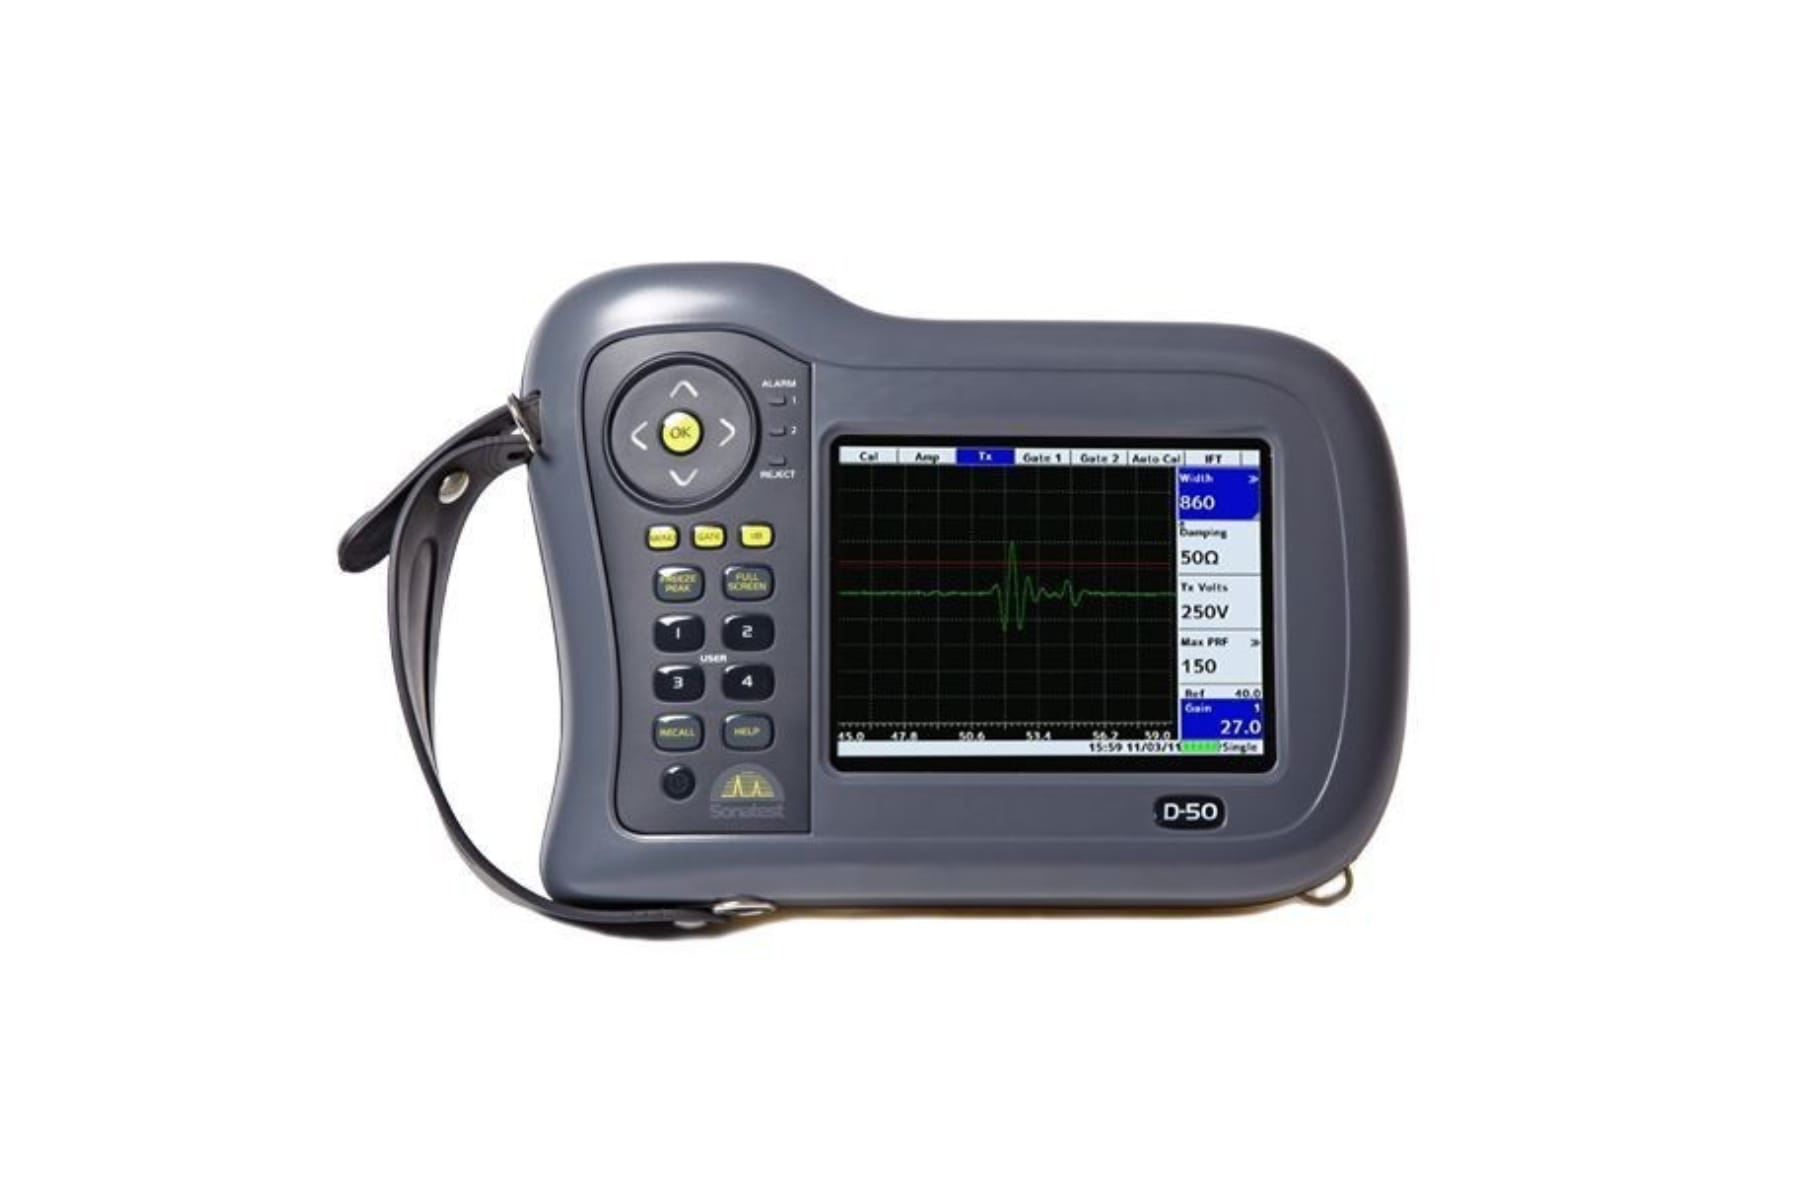
The Sitescan D-50 offers the end user an entry level broadband flaw detector in the popular and portable casing of the established D-Series; with a full VGA display, a 50nS (Spike) 200V, a Pulser 0.5dB gain resolution and an optional rubber boot.
Typical applications are Weld Fabrication, Corrosion Detection, Forgings & Castings and general UT inspection.
Features
Reliable, Rugged & Robust
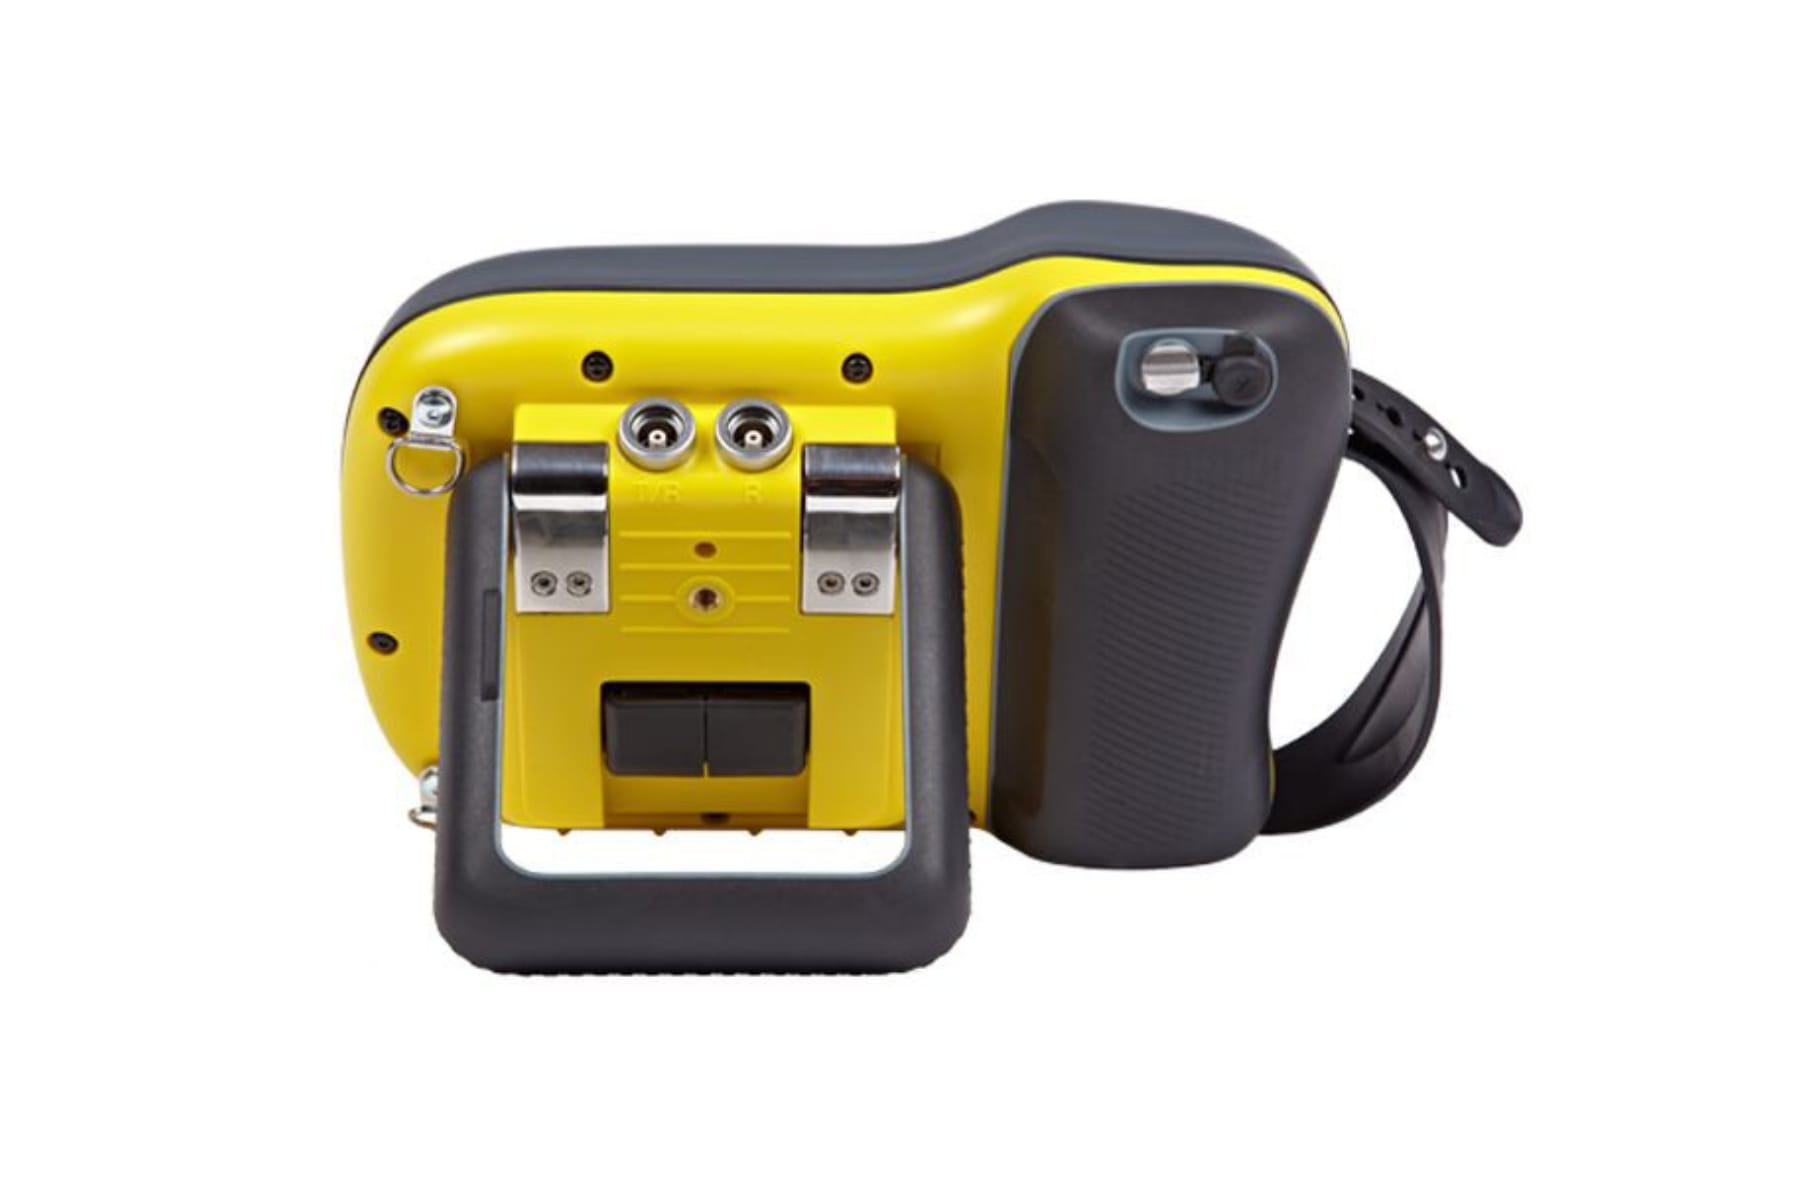
An instrument's ability to perform in harsh environments with proven reliability is an important aspect of flaw detector ownership and this is enhanced by the Sitescan D-50's outstanding battery performance, which is up to 10.5 hours from full charge. The Sitescan D-50's enclosure is constructed using automotive grade impact resistant materials and offers excellent water resistance. Environmental testing has confirmed the instrument is fully functioning at temperatures above 55°C. The Sitescan D-50 has a colour transflective VGA display, providing high visibility in any lighting conditions. Maxi,u, readability is achieved through adjustable brightness and the choice of 9 colour palettes, including a black-on-white LCD emulation mode.

Advanced Defect Sizing Tools as Standard
Weld an pipe inspection are major applications for the Sitescan D-50 which is equipped with the latest software tools for defect sizing. The use of integrated sizing software reduces analysis time and speeds inspection. Multiple standard sizing techniques are essential for service companies working to different customer standards, especially as service work becomes more international and operators are required to work to different codes.
Sizing Techniques and Software Options include:
- DAC (Standard)
- Split DAC & DGS/AVG (Option)
- TCG (Option)
- Backwall Echo Attenuation (BEA) Option (requires TCG)
- AWS (Option)
- AVG/DGS (Option)
- API (Option)
- Interface Trigger (Option)
- Corrosion Software (Option)
UT-Lity Lite Data Management Software
Ut-Lity Lite software provides everything you need to manage your inspection data. The Standard (Lite) version is FREE with every instrument and give you the ability to view, move and manage Calibrations, A-Scans, B-Scans and Thickness Logs both on the instrument and on your PC. With UT-Lity Lite you can also create customised inspection report templates, cut-n-paste information to other applications and create printable pdf documents.
- Load, store, manage files both on the PC and on a connected flaw detector
- Save, analyse, colour code and export thickness logging data to spreadsheets/asset management software
- Update the Flaw Detector and Firmware as and when updates become available on our website
Ask an Expert Download Brochure (4.3MB) Request a Demo
Specification
| Sitescan D-50 | |
| Measurement Modes | 7 modes |
| Rectification | RF, Full wave, +ve half-wave and -ve half-wave |
| Waveform Smoothing | None, Fill and Smooth |
| AutoCal | Provides automatic calculation of velocity and probe zero from two reference echoes |
| Reference Waveform | Displays a previously stored A-Log in a colour different from the active display: enabling a quick visual check of the differences |
| Active Peak Memory | Retains all A-Scans on screen for echo-dynamic pattern analysis, with the active A-Scan displayed in a separate colour |
| AGC | Automatic Gain Control automatically sets the signal in Gate 1 to a level between 10% and 90% FSH, tolerance between 5% and 20% |
| Connections | |
| Encoder | Lemo mini 4-pin connector |
| External Video | Factory Option |
| USB Connection | Internal storage shown as Memory Device |
| Transducer sockets | BNC or LEMO (factory option) |
| Measurements | |
| Gates | 2 |
| DAC | YES |
| Split DAC | Option |
| IFT | Option |
| TCG | Option |
| AVG/DGS | Option |
| AWS | Option |
| API | Option |
| BEA | Option |
| Corrosion TLog | Option |
| BChart | Option |
| Transmitter | |
| PRF | Adjustable 35Hz to 1kHz |
| Pulser(Voltage) | 200V fixed. 50nS square wave |
| Rise/Fall times <15nS year | |
Ask an Expert Download Brochure (4.3MB) Request a Demo
Accessories
| Product Code | Description |
|---|---|
| D50 KIT | Sitescan D-50 Digital Flaw Detector BNC |
| Battery, Charger, Charger mains cable | |
| User Guide | |
| Certificate of Instrument Calibration & Conformity | |
| Carry Bag | |
| UT-Lity and USB cable | |
| Display Window Cover |
Accessories & Spares
| Product Code | Description |
|---|---|
| 800208 | CH700 Battery Charger |
| 242173 | D-Series Battery Pack |
| 195167 | D-Series Storm Case |
| 195194 | D-Series Storm Case - Eco |
| 195123 | D-Series Protective Sleeve |
| 195163 | D-Series Carry Bag |
| 165027 | RCA Video OutPut Cable |
| 165028 | USB Type A Male Cable Assy |
| 152120 | Cable DFD to PC |
| 165040 | Proportional O/P lead |
| 145221 | Masterscan Replacement Screen Cover |
| 145324 | Masterscan Screen Cover |
| MPS-701EU | Flaw Detector Mains Pack |
| MPS-701UK | Flaw Detector Mains Pack |
| MPS-701US | Flaw Detector Mains Pack |
| 192025 | US Mains Lead Plug |
| 192026 | UK Mains Lead Plug |
| 192027 | Euro Mains Lead Plug |
| D-SERIES-SITE-PACK | Site Pack Option |
| 136168 | BNC to BNC 50 Ohm |
| 136169 | BNC Female to LEMO Male |
| 136171 | Lemo (M) to Lemo 00 (F) |
| 152018 | BNC (M) to LEMO (F) Adaptor |
| KMA KIT 1 | Stand Support Pack |
| KMA-01 | Magnetic Mt'g Bracket Assy |
| KMA-03 | hook Mt'g Bracket Assy |
UT-Lity Pro (Advanced User Software)
UT-Lity Pro is the "professional" version and works in conjunction with the Corrosion Software option, providing the end user with the ability to create and manage inspection plans, location notes, historical thickness readings and other asset management information as required.
- Set up inspection plan (gris) templates, notes and labels
- Import previous readings into an inspection plan
- Export inspection plan data to spreadsheets and plant maintenance databases
Flaw Detector Software Options
| Product Code | Description |
|---|---|
| SW-API | API Software |
| SW-AWS | AWS Software |
| SW-BEA | BEA Software |
| SW-CORROSION | T-Log + B-Chart Software |
| SW-DGS | DGS Software |
| SW-IFT | IFT Software |
| SW-SPDAC | Split DAC Software |
| SW-TCG | TCG Software |
| UTILITY PRO | UT-Lity Pro Software |
Ask an Expert Download Brochure (4.3MB) Request a Demo
Downloads
Brochure & Specification
| Type | Title | Date | Size | |
|---|---|---|---|---|
| D-50 Full Specification (Dec 25) | 08/25 | Download | 0.22 MB | |
| Sitescan 500s and D-50 (Feb 2024) | 08/23 | Download | 4.28 MB | |
| SS500 Full Specification (Apr 2025) | 08/25 | Download | 0.20 MB |
Battery Information
| Type | Title | Size | Date | |
|---|---|---|---|---|
| 242173 - MSDS WAM Rev1 Aug23 | Download | 0.55 MB | 08/23 | |
| 242173 - RoHS WAM Rev1 Apr25 | Download | 0.92 MB | 04/25 | |
| 242173 - UN Test Summary WAM Rev1 Oct19 | Download | 0.34 MB | 10/19 |
Ask an Expert Download Brochure (4.3MB) Request a Demo
